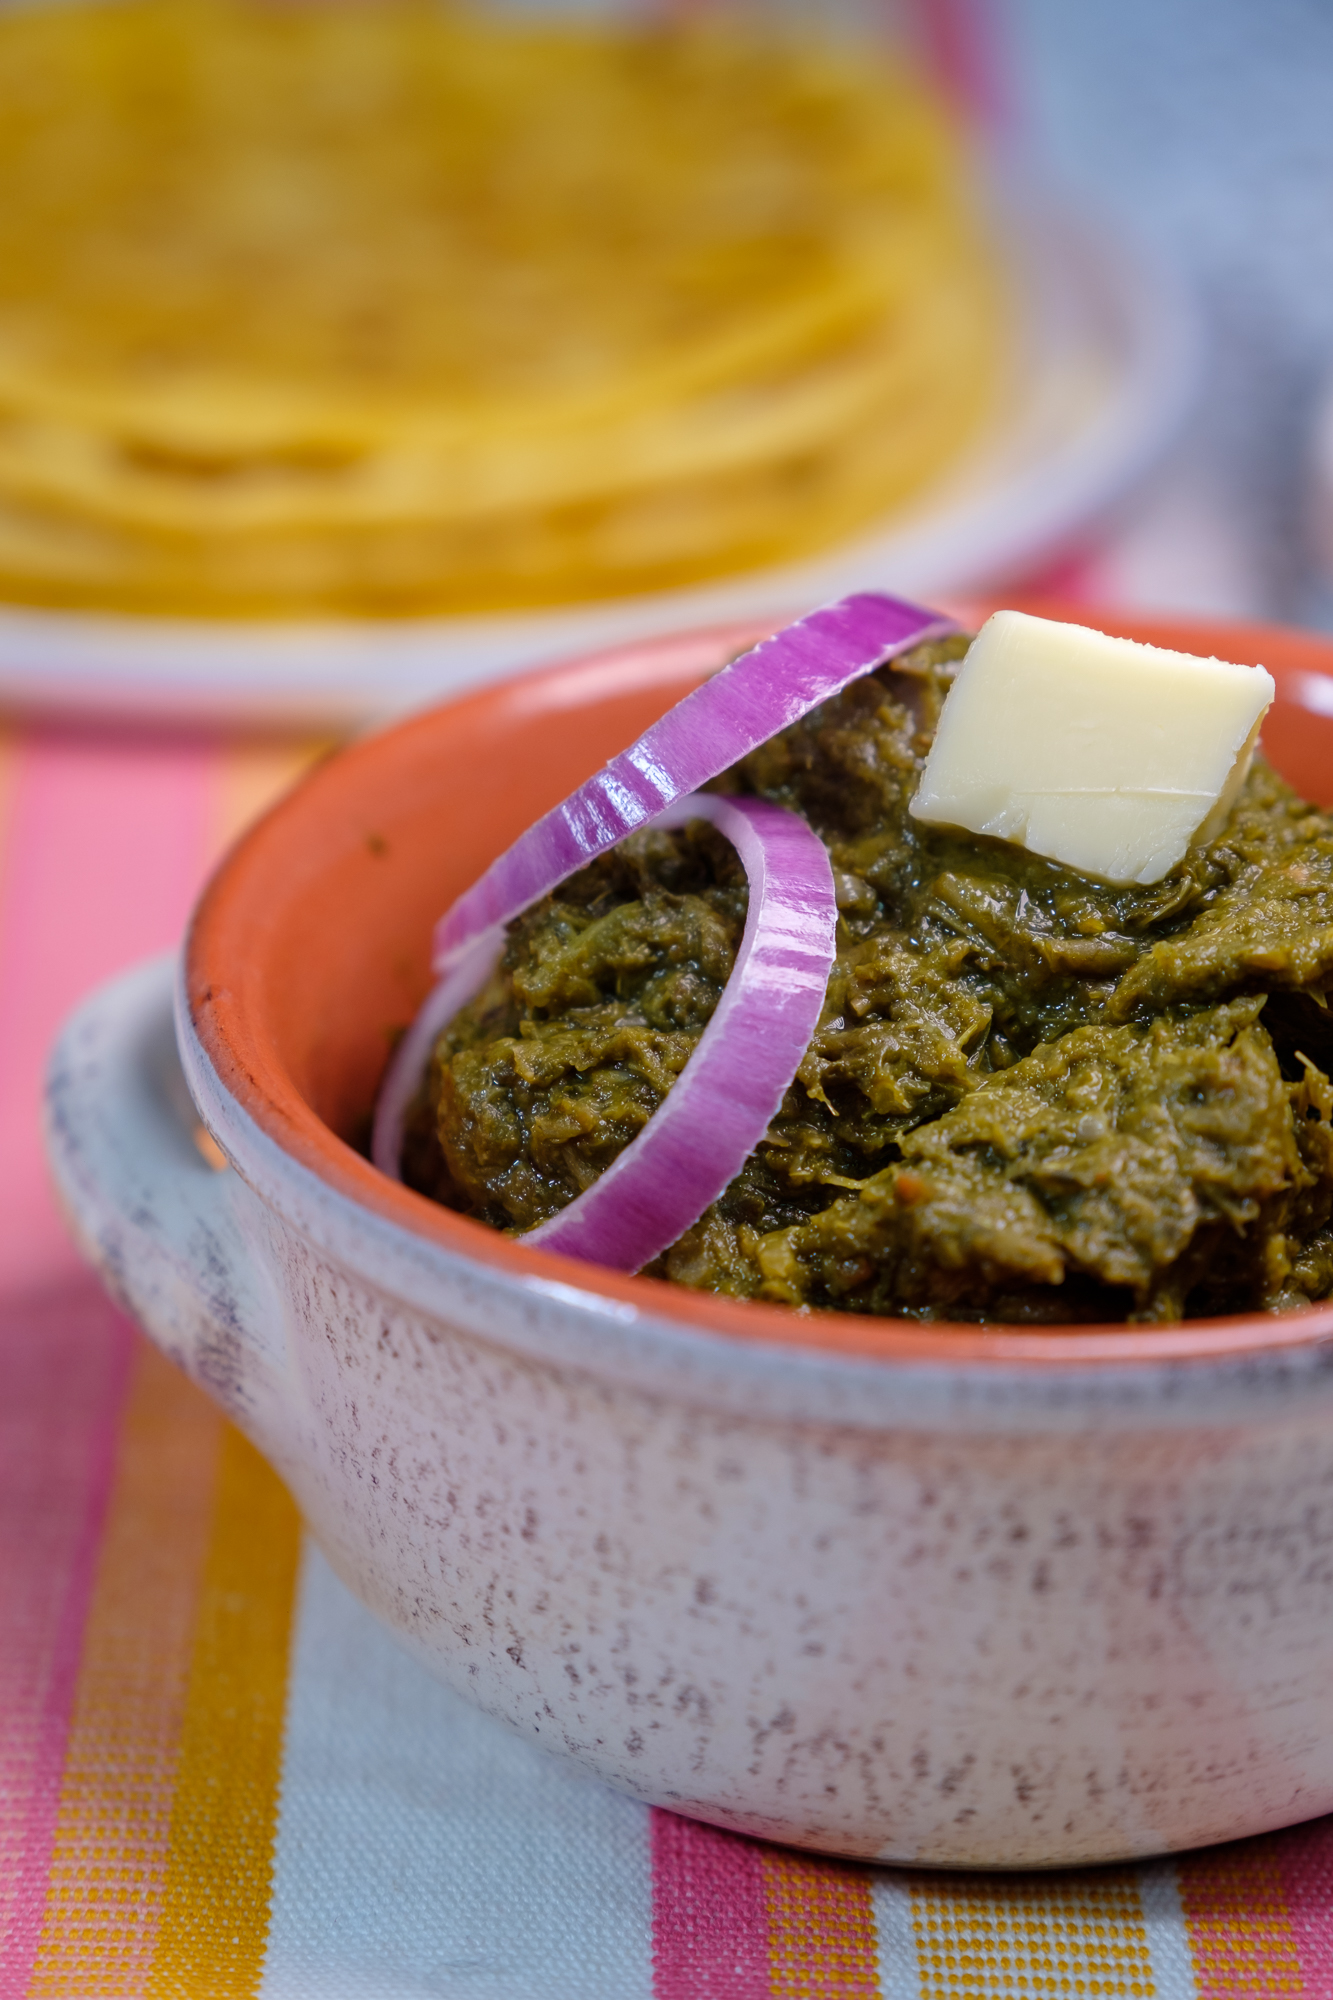
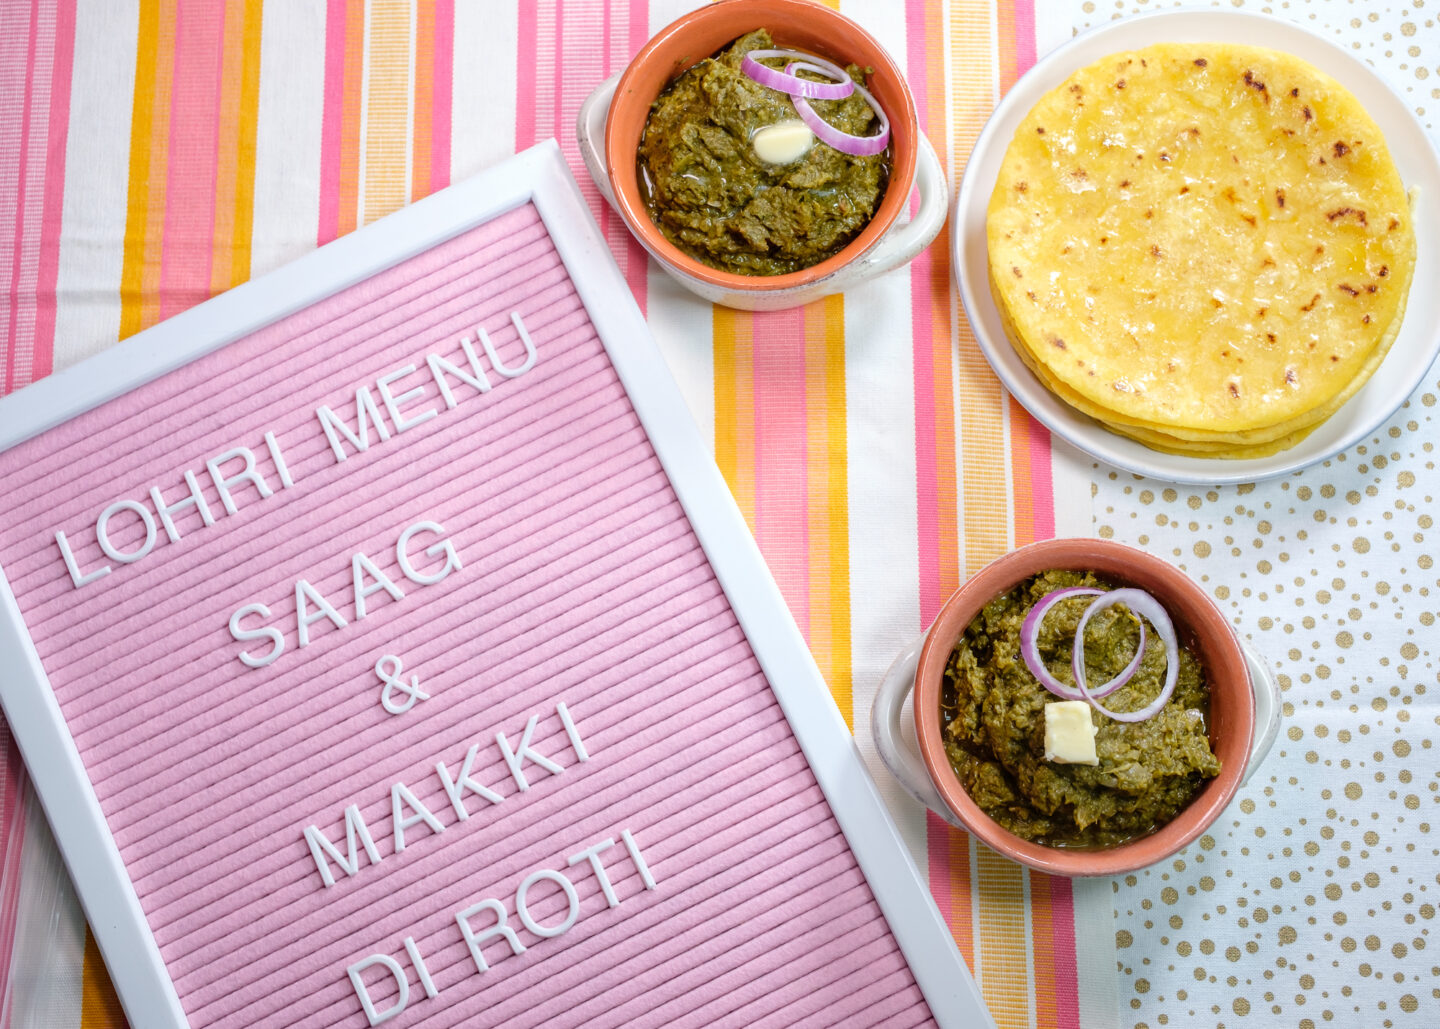
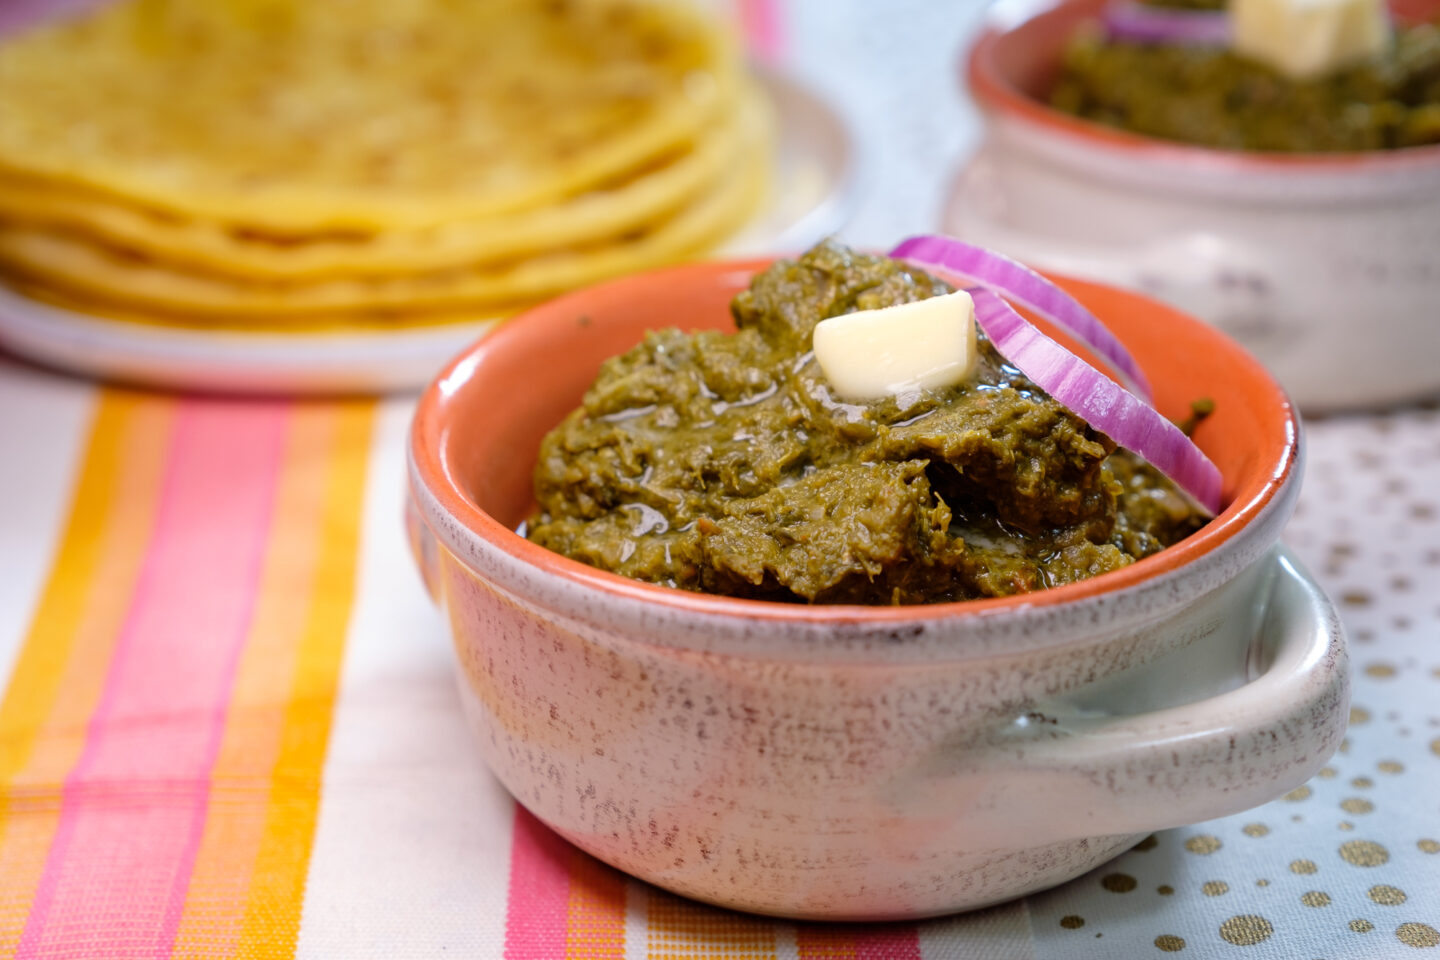
It’s been a long time coming, but I’ve finally recorded the step-by-step process for my Punjabi saag recipe! I was super hesitant about sharing this one because there are so many great recipes on the internet already, and it was really hard figuring out how to batch this recipe down. Normally I’d cook three times as much and then freeze it in portions. But I wanted to create a recipe for Punjabi saag that had that home style comfort and flavour, and could be made fresh in a smaller portion.
In all honesty, this is still a pretty decent size batch of saag and could probably be stretched to 12-16 servings if you had another dal or sabji on the table too! This is the amount I make for our annual Lohri dinner with friends and there are usually about 10 people attending.

When I was considering whether or not to do a recipe, I realized that most of the videos online are in Hindi or Punjabi, many are not made in the way that my family makes saag, and there are so many tips and tricks I wanted to share with you all that I’ve learned along the way. So, I decided to throw my hat in the ring also and share my version of this classic, Punjabi Saag.
Before you watch the video for a step-by-step breakdown, here are some tips for a really great saag.(Some I’ve learned the hard way and really wish someone had shared them with me before!)

Punjabi Saag – Tips for the best batch!
Make sure you wash the greens thoroughly. I can’t stress this one enough. All of the greens we use in saag come out of the ground are filled with dirt & grit. If your saag leaves are dirty you’ll be able to taste it in the finished product.
Only keep rapini stems if they are soft. Snap them like you would the bottom of asparagus to see where you should cut them off.
Taste before seasoning (and taste a few times throughout). Once you start cooking saag it’s flavour changes substantially. Every batch is different due to the bitterness of different greens. Taste it before you add any tempering or seasoning.
Don’t skip the makki da atta. I personally think it’s essentially to get the full flavour and texture of saag. But also remember, if you add the atta, you have to cook it out properly.
When you get to the stage of blending the saag go slowly. I’ve made the mistake of over-blending saag and there is no going back! Pulse it very slowly in your blender, or use a hand blender and stop to check the consistency regularly.
If you are planning on freezing part of the batch of saag, feel free to take half out before you add the tempering, freeze it, and adjust the tempering ingredients as needed. Then when you defrost your saag, temper it before serving.
Adjust and tinker with the saag recipe until it becomes your own. This is the type of recipe where everyone has their own tweaks. My mom doesn’t use tomatoes in saag, but I like the tang with the bitterness of greens. Some people use cabbage instead of daikon. The important part about saag is the slow-cooking, other than that, feel free to experiment. (Just don’t make broccoli saag and then call it traditional, please don’t. You’ll break my heart.)
Punjabi Saag Recipe
Serving Size: 8-12 portions
{PS: You might want to check out this tutorial for makki di roti to pair with your saag!}
Ingredients:
Saag –
4 bunches rapini
2 bunches spinach
1 bunch fresh fenugreek (methi)
6″ piece of daikon (mooli)
1 large onion roughly chopped
1 Roma tomato chopped
3 cloves of garlic chopped
4 inch piece of ginger chopped
2 green chillies choppped
1.5 tsp salt (or to taste)
1/2 tbs coriander (dhania) powder
1/4 tbs cumin (jeera) powder
2.5 cups of water
1/4 cup corn flour (makki da atta)
Tadka:
1.5 tbs mustard oil
2 tbs ghee or butter
1 cup onion finely chopped
3/4 cup Roma tomato chopped
5 cloves garlic finely chopped
2″ piece of ginger finely chopped
1 green chilli chopped
1.5 tsp mustard seeds (rai)
1 tsp cumin (jeera) powder
1 tsp coriander (dhaniya) powder
1/2 tsp salt (or to taste)
Method:
1. Chop and wash all greens.
2. Add washed greens into pot with all other ingredients listed under saag, except for the corn flour (makki da atta). Do not add corn flour at this point.
3. Bring the saag to a boil, and then drop the heat down to low and simmer for at least 90 minutes. To test the doneness of the saag, press on a stalk from the toughest green and it should easily come apart. (watch the video to see a close-up)
4. Once the saag is cooked, add the corn flour (makki da atta) and mix thoroughly.
5. Puree the saag lightly with an immersion blender (see notes section for consistency tip)
6. Return the saag to the pan and simmer for 30 minutes on low heat to cook out the flour (atta).
7. Cook the tadka and add it to the saag.
*****************************************
I hope you’ll give my saag recipe a try this Lohri. It’s not that hard, just a little time consuming! If you do make it don’t forget to let me know how it turned out by leaving a comment, or tagging me on Instagram.
PIN FOR LATER


