I don’t know about you guys, but I don’t really like to spend a lot of money on Indian party wear clothes, that’s what got me thinking about making a DIY sari. As much as I love Indian clothes, and there are a lot of desi designers I swoon over, they just aren’t a practical investment for me. The cost per wear is so high, I just can’t justify the purchase. Thankfully this DIY sari is stylish and budget friendly!

{Two rescued dupattas get a new DIY life}
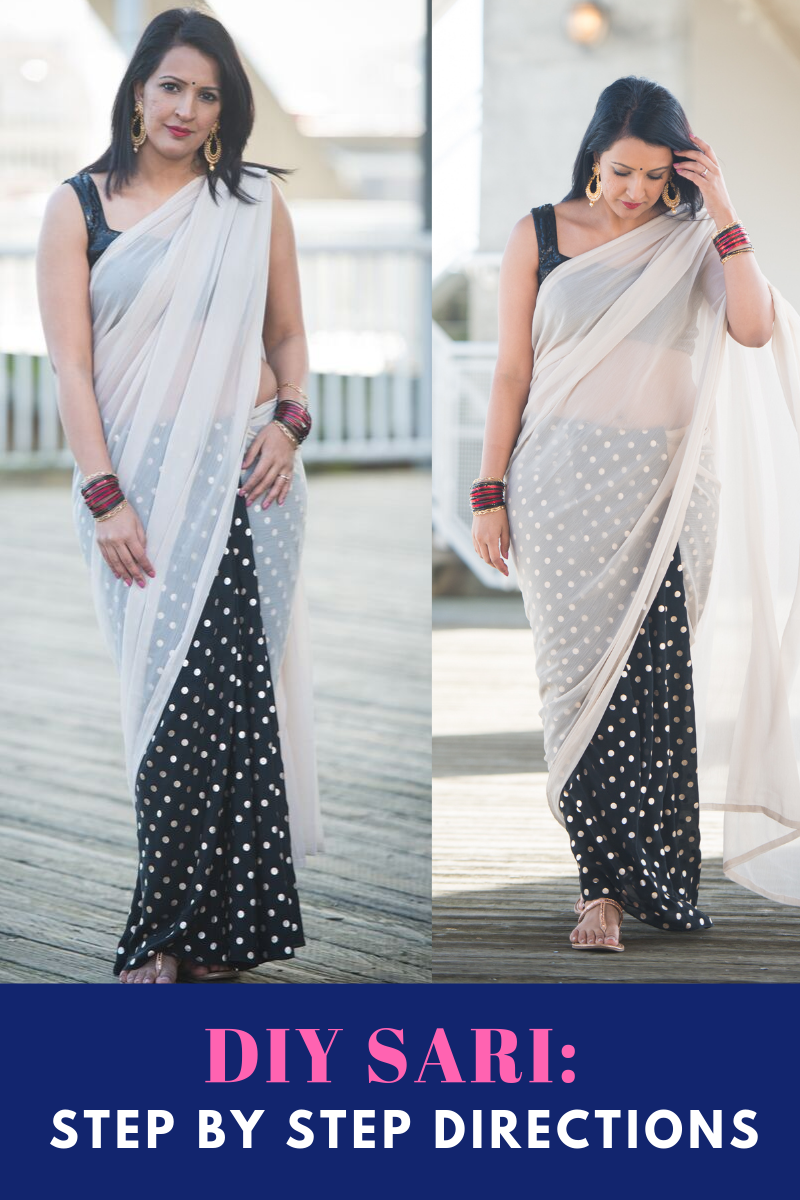
I’ve been searching my local desi market for some inexpensive saris I could dress up with a fancy blouse or accessories, and nothing was really hitting the mark because, a cheap sari looks cheap (and it rarely ties up well). So, this got me thinking about making some one of a kind saris for myself. The first idea that popped into my head was the super-trendy double print sari. This is basically a sari that has two prints (or colours), one features in the pleats and one in the pallu/shoulder area.
Like every DIY I dream up, I try to do what I can with supplies I already have at home. After a quick look through my fabric stash I came up empty handed, but then I had a light-bulb moment; what if I took two old dupattas and combined them to make one sari? After a bit of research I found that a typical sari can be anywhere from 5-9 yards and a typical dupatta is 2.5 yards. This works out for me because a 5 yard sari is more than enough for me (I’m 5’4″ and wear a size 8/10). Some women who are taller or have a different waist size, or even just like a much longer pallu may want to go for a longer sari. If two dupattas doesn’t work for you, you can purchase two pieces of fabric that are 3 or 4 yards long each.
This is a super easy project that even a novice sewer can complete in two to three hours. (That includes hemming the sari and adding the fall).
DIY Sari: Instructions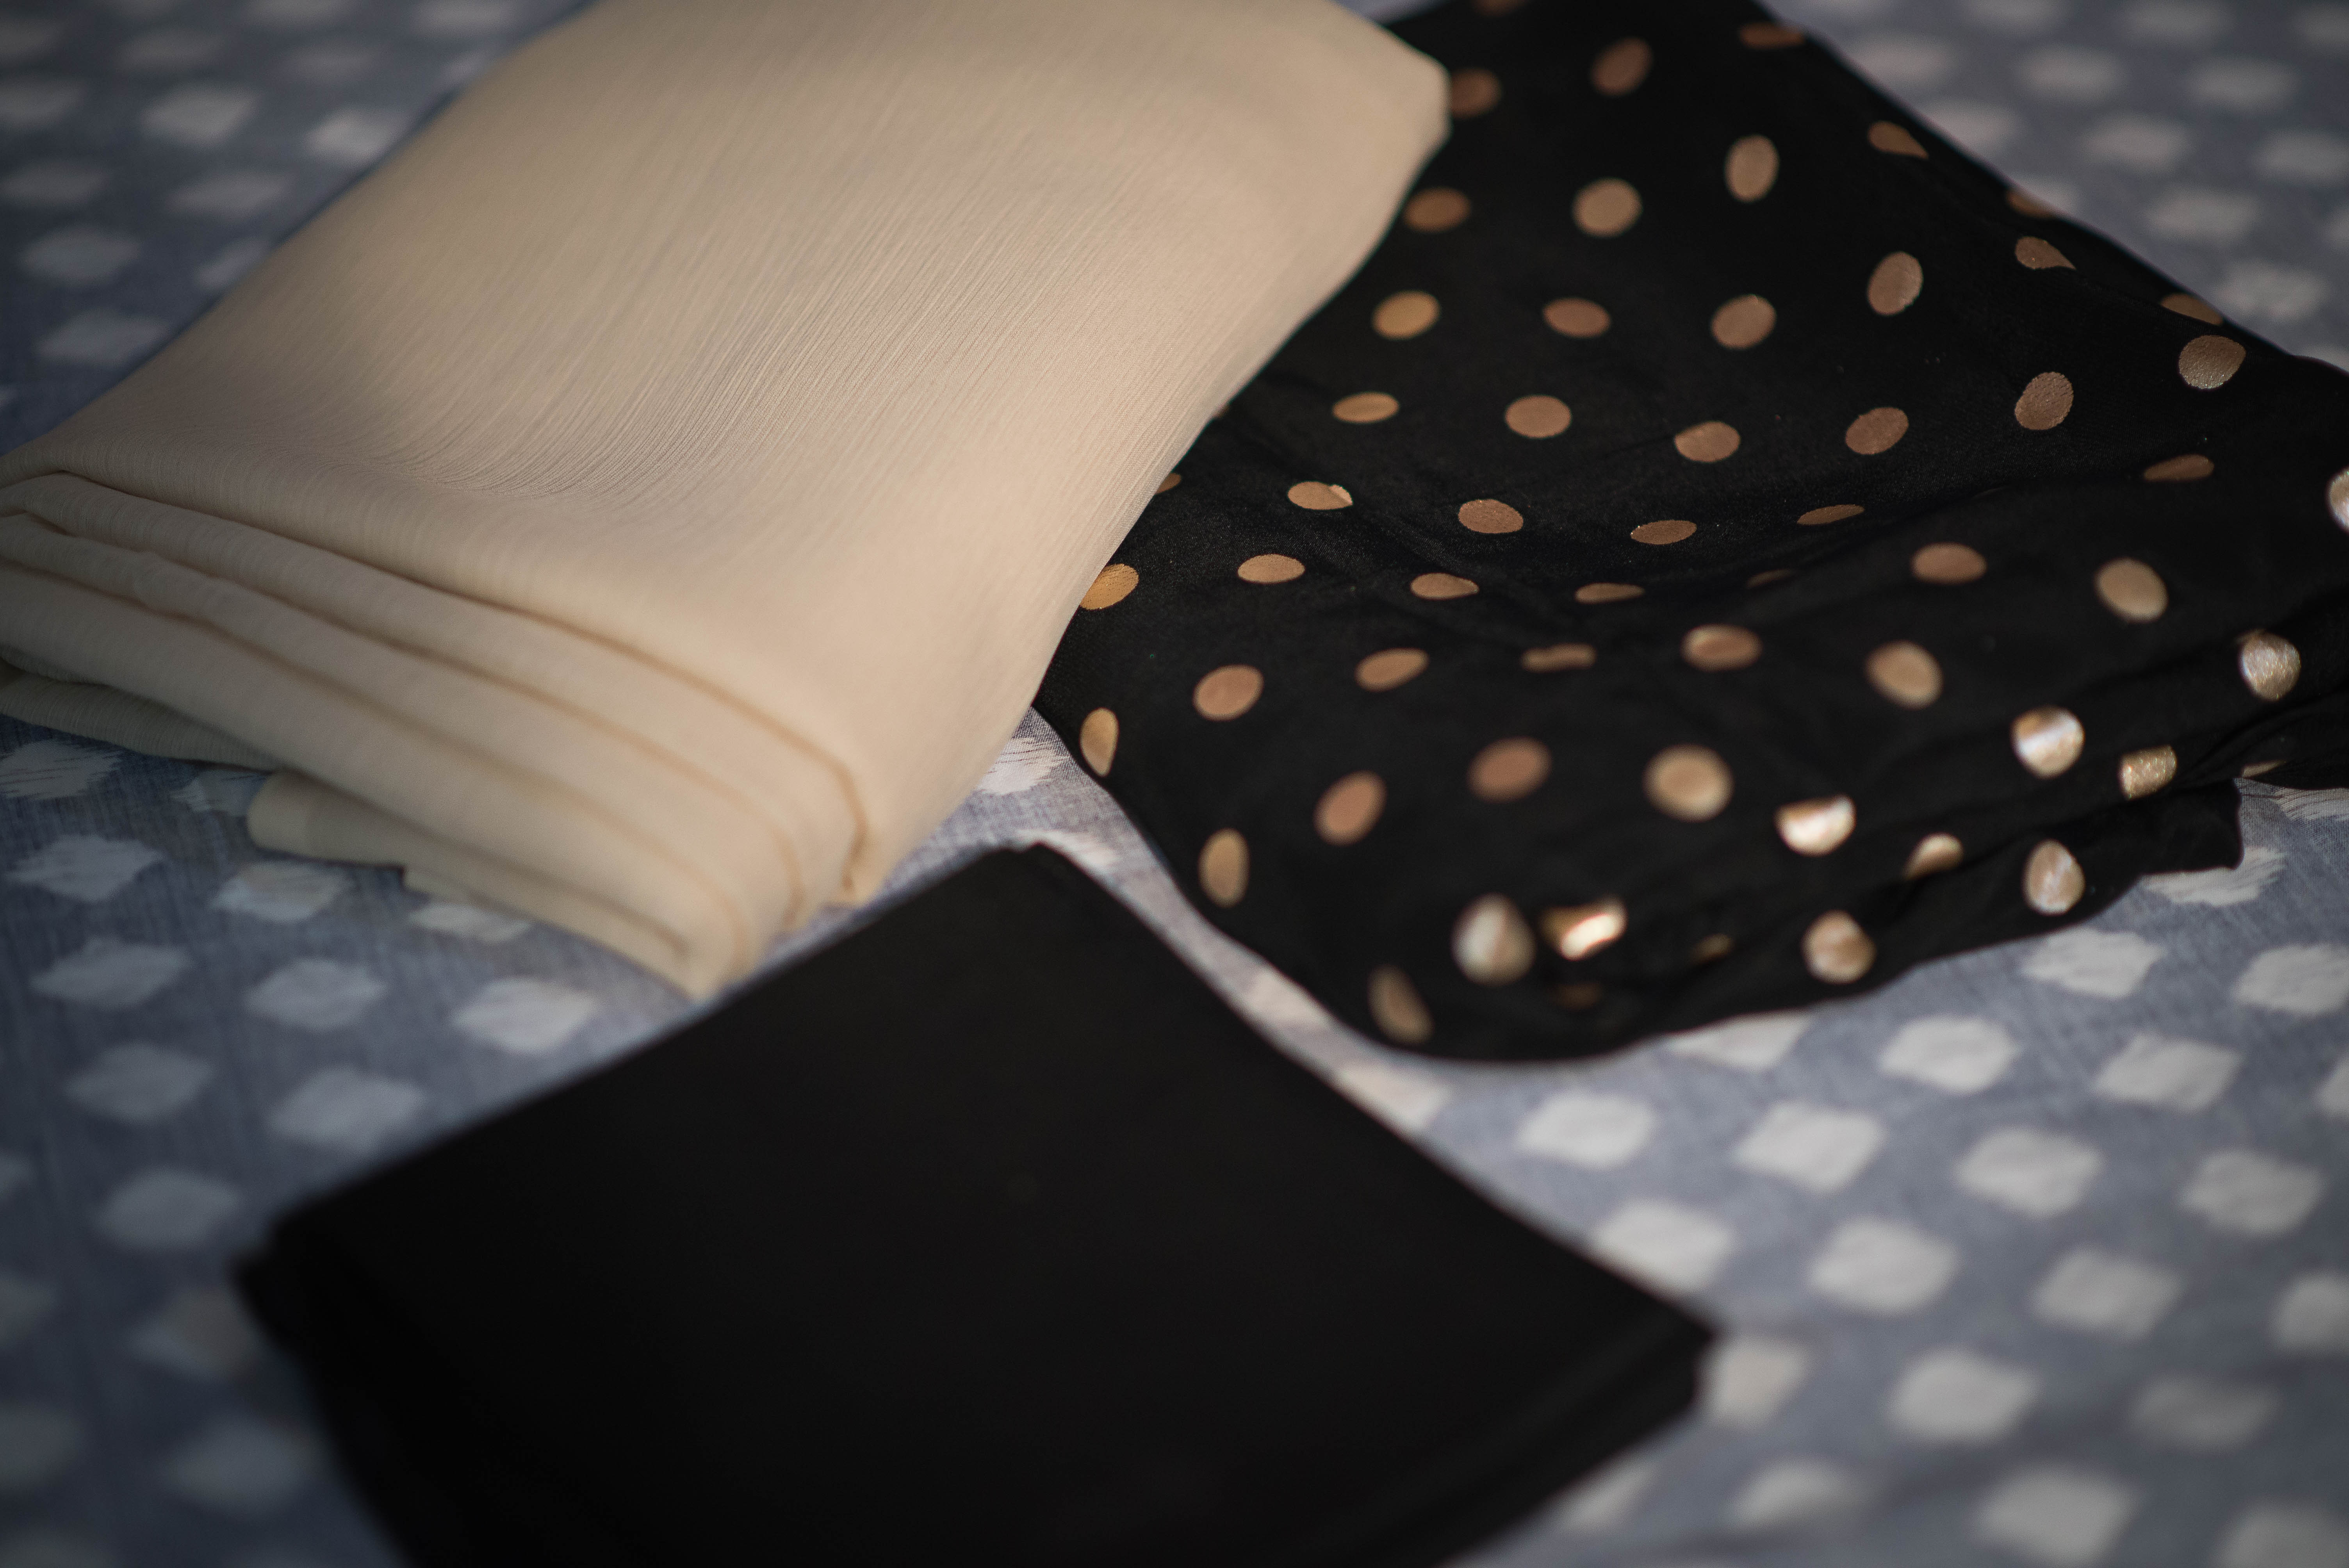
Supplies:
- Two pieces of fabric cut to add up to your desired sari length (3 yards or 4 yards each). When selecting your fabric, make sure that it is wide enough for your liking, and both pieces of fabric are the same width.
- Sari fall – a thin strip of fabric available at your local desi fabric shop
- Sewing machine with a basic stitch, and thread matching your sari.
DIY SARI VIDEO:
Directions:
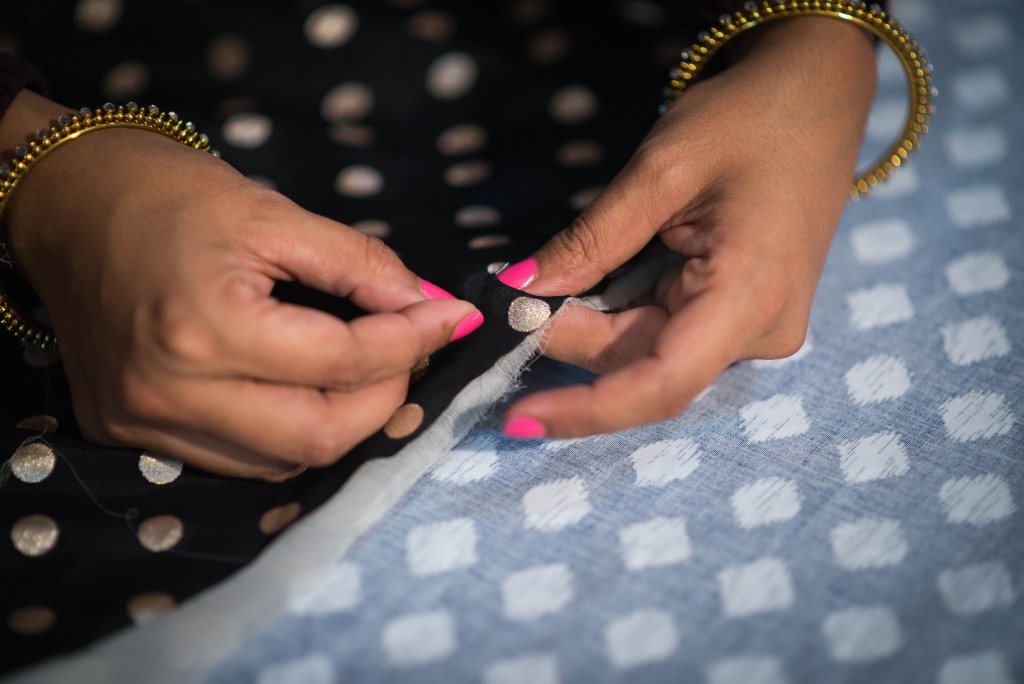
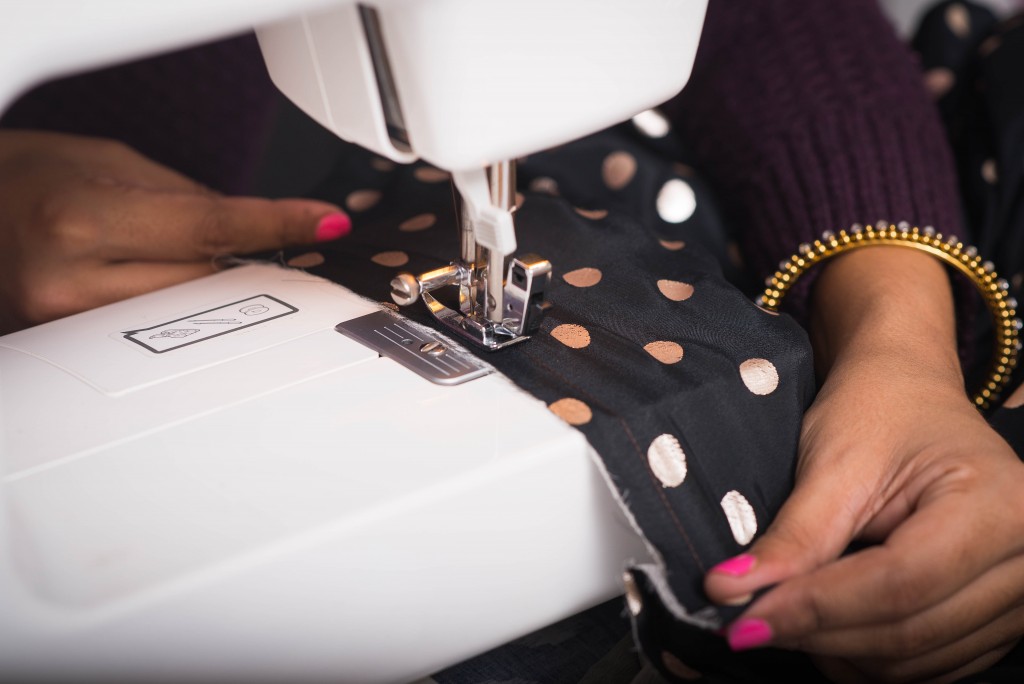
To create this sari, we are going to start by sewing a “chor seen” or a French seam between the two pieces of fabric. Scroll through the slideshow below and follow the step by step directions for this portion of the DIY.
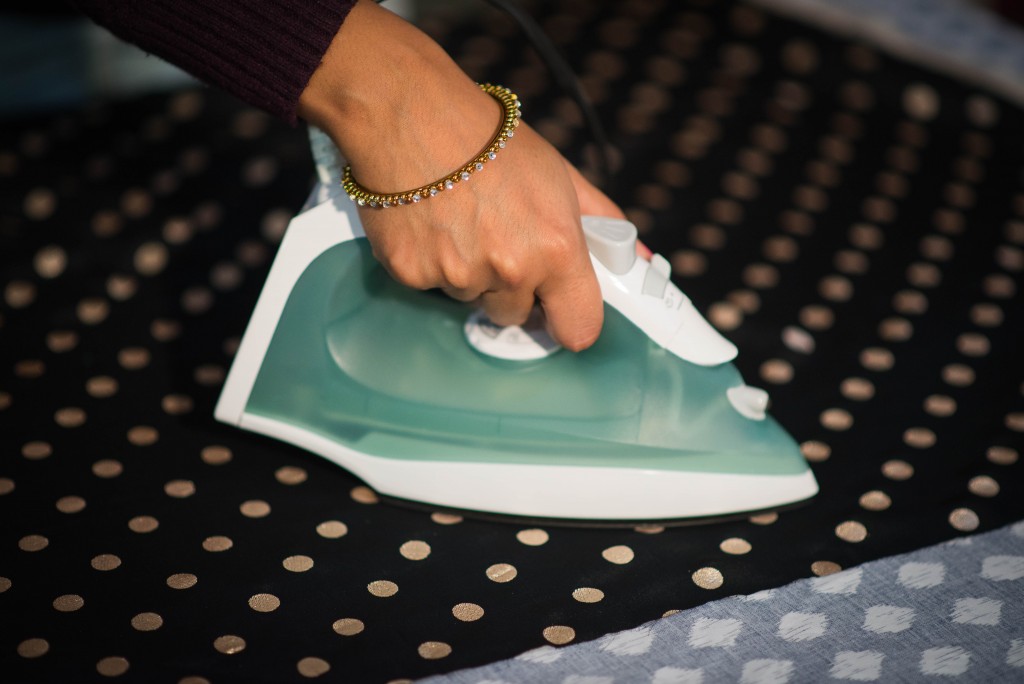
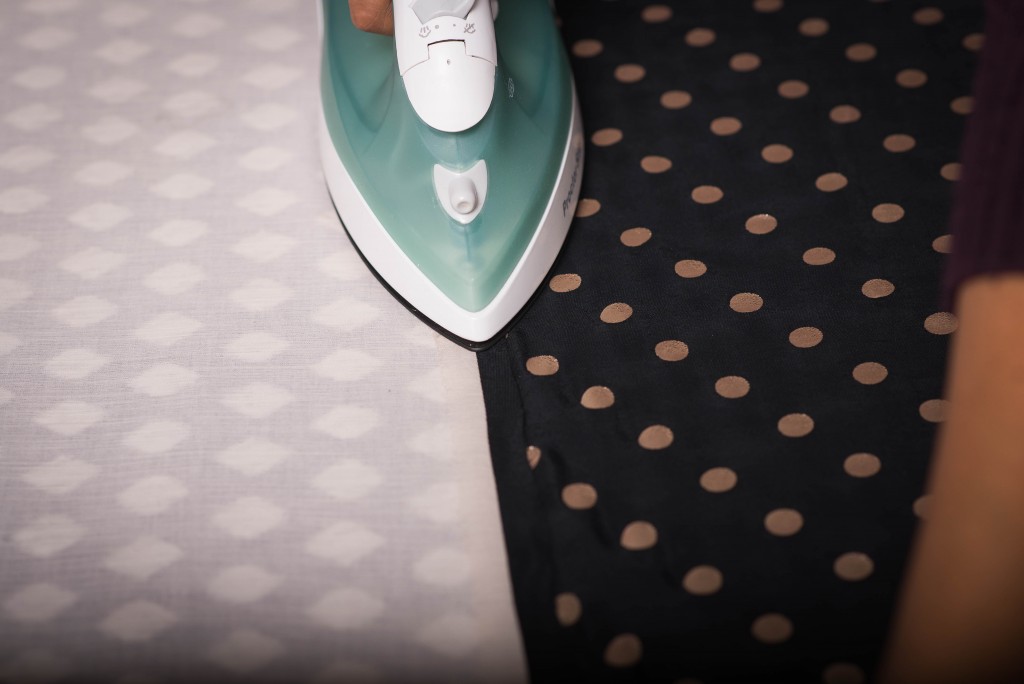
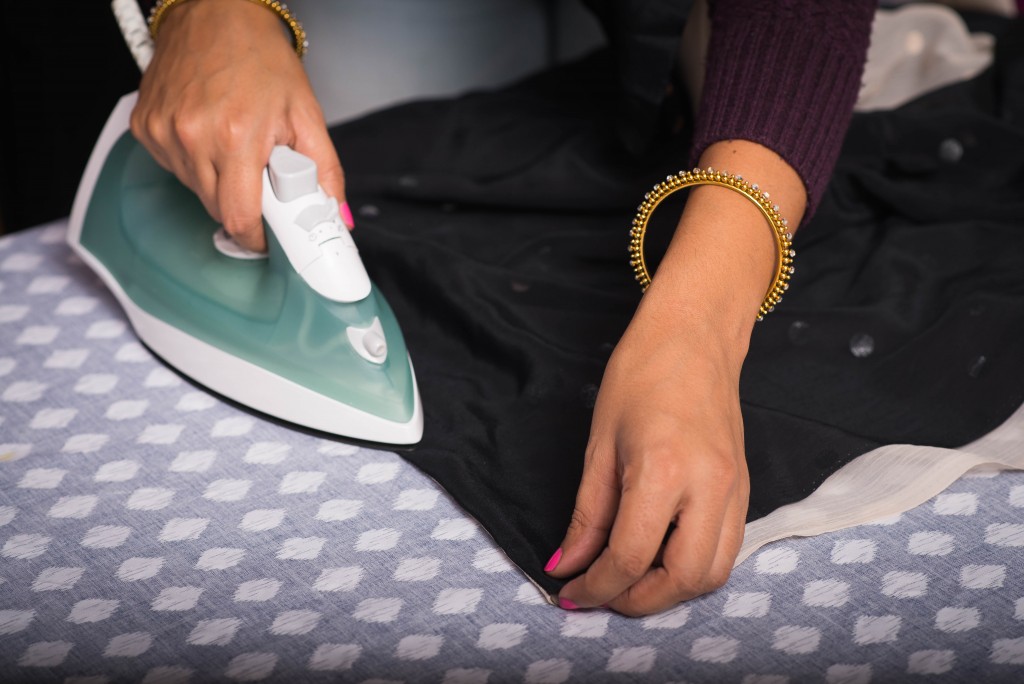
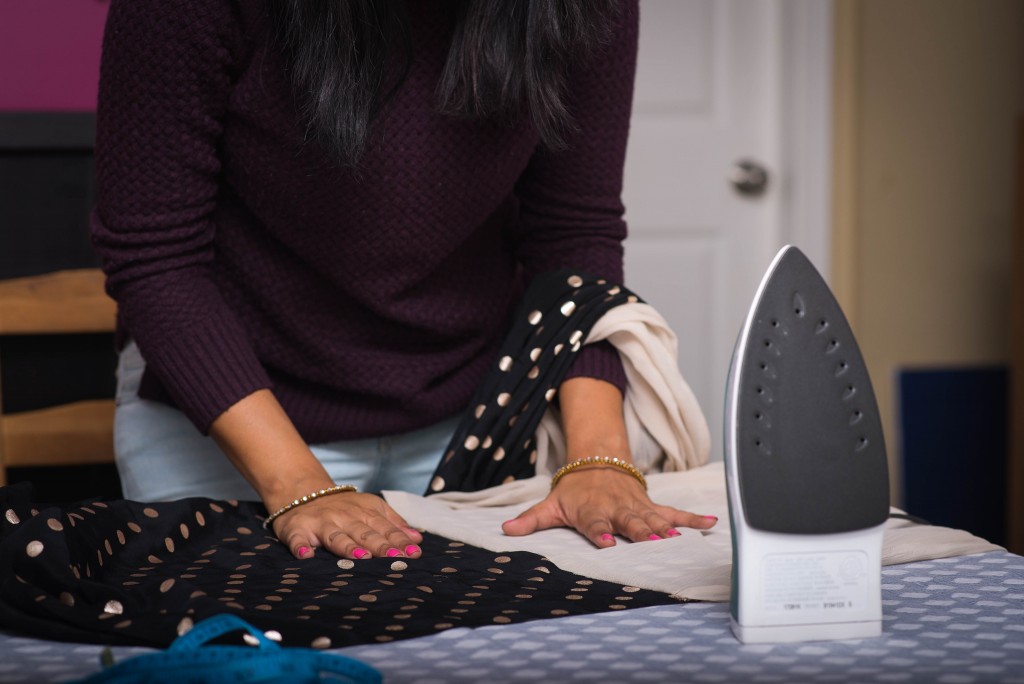
- Step 1: Iron your fabric
- Step 2: Pin wrong sides together.
- Step 3: Sew both pieces together leaving a 3/8″ seam allowance.
- Step 4: Trim the seam allowance to 1/8″.
- Step 5: Open the seam on the right side of the fabric and iron it flat.
- Step 6: Fold the fabric so it is now right sides together.
- Step 7: Iron the seam flat, with stitching right on the edge of the seam.
- Step 8: Once the seam is flat, sew it with enough seam allowance so that your original seam is hidden
- Step 9: Open the seam one more time and iron it flat on both sides.
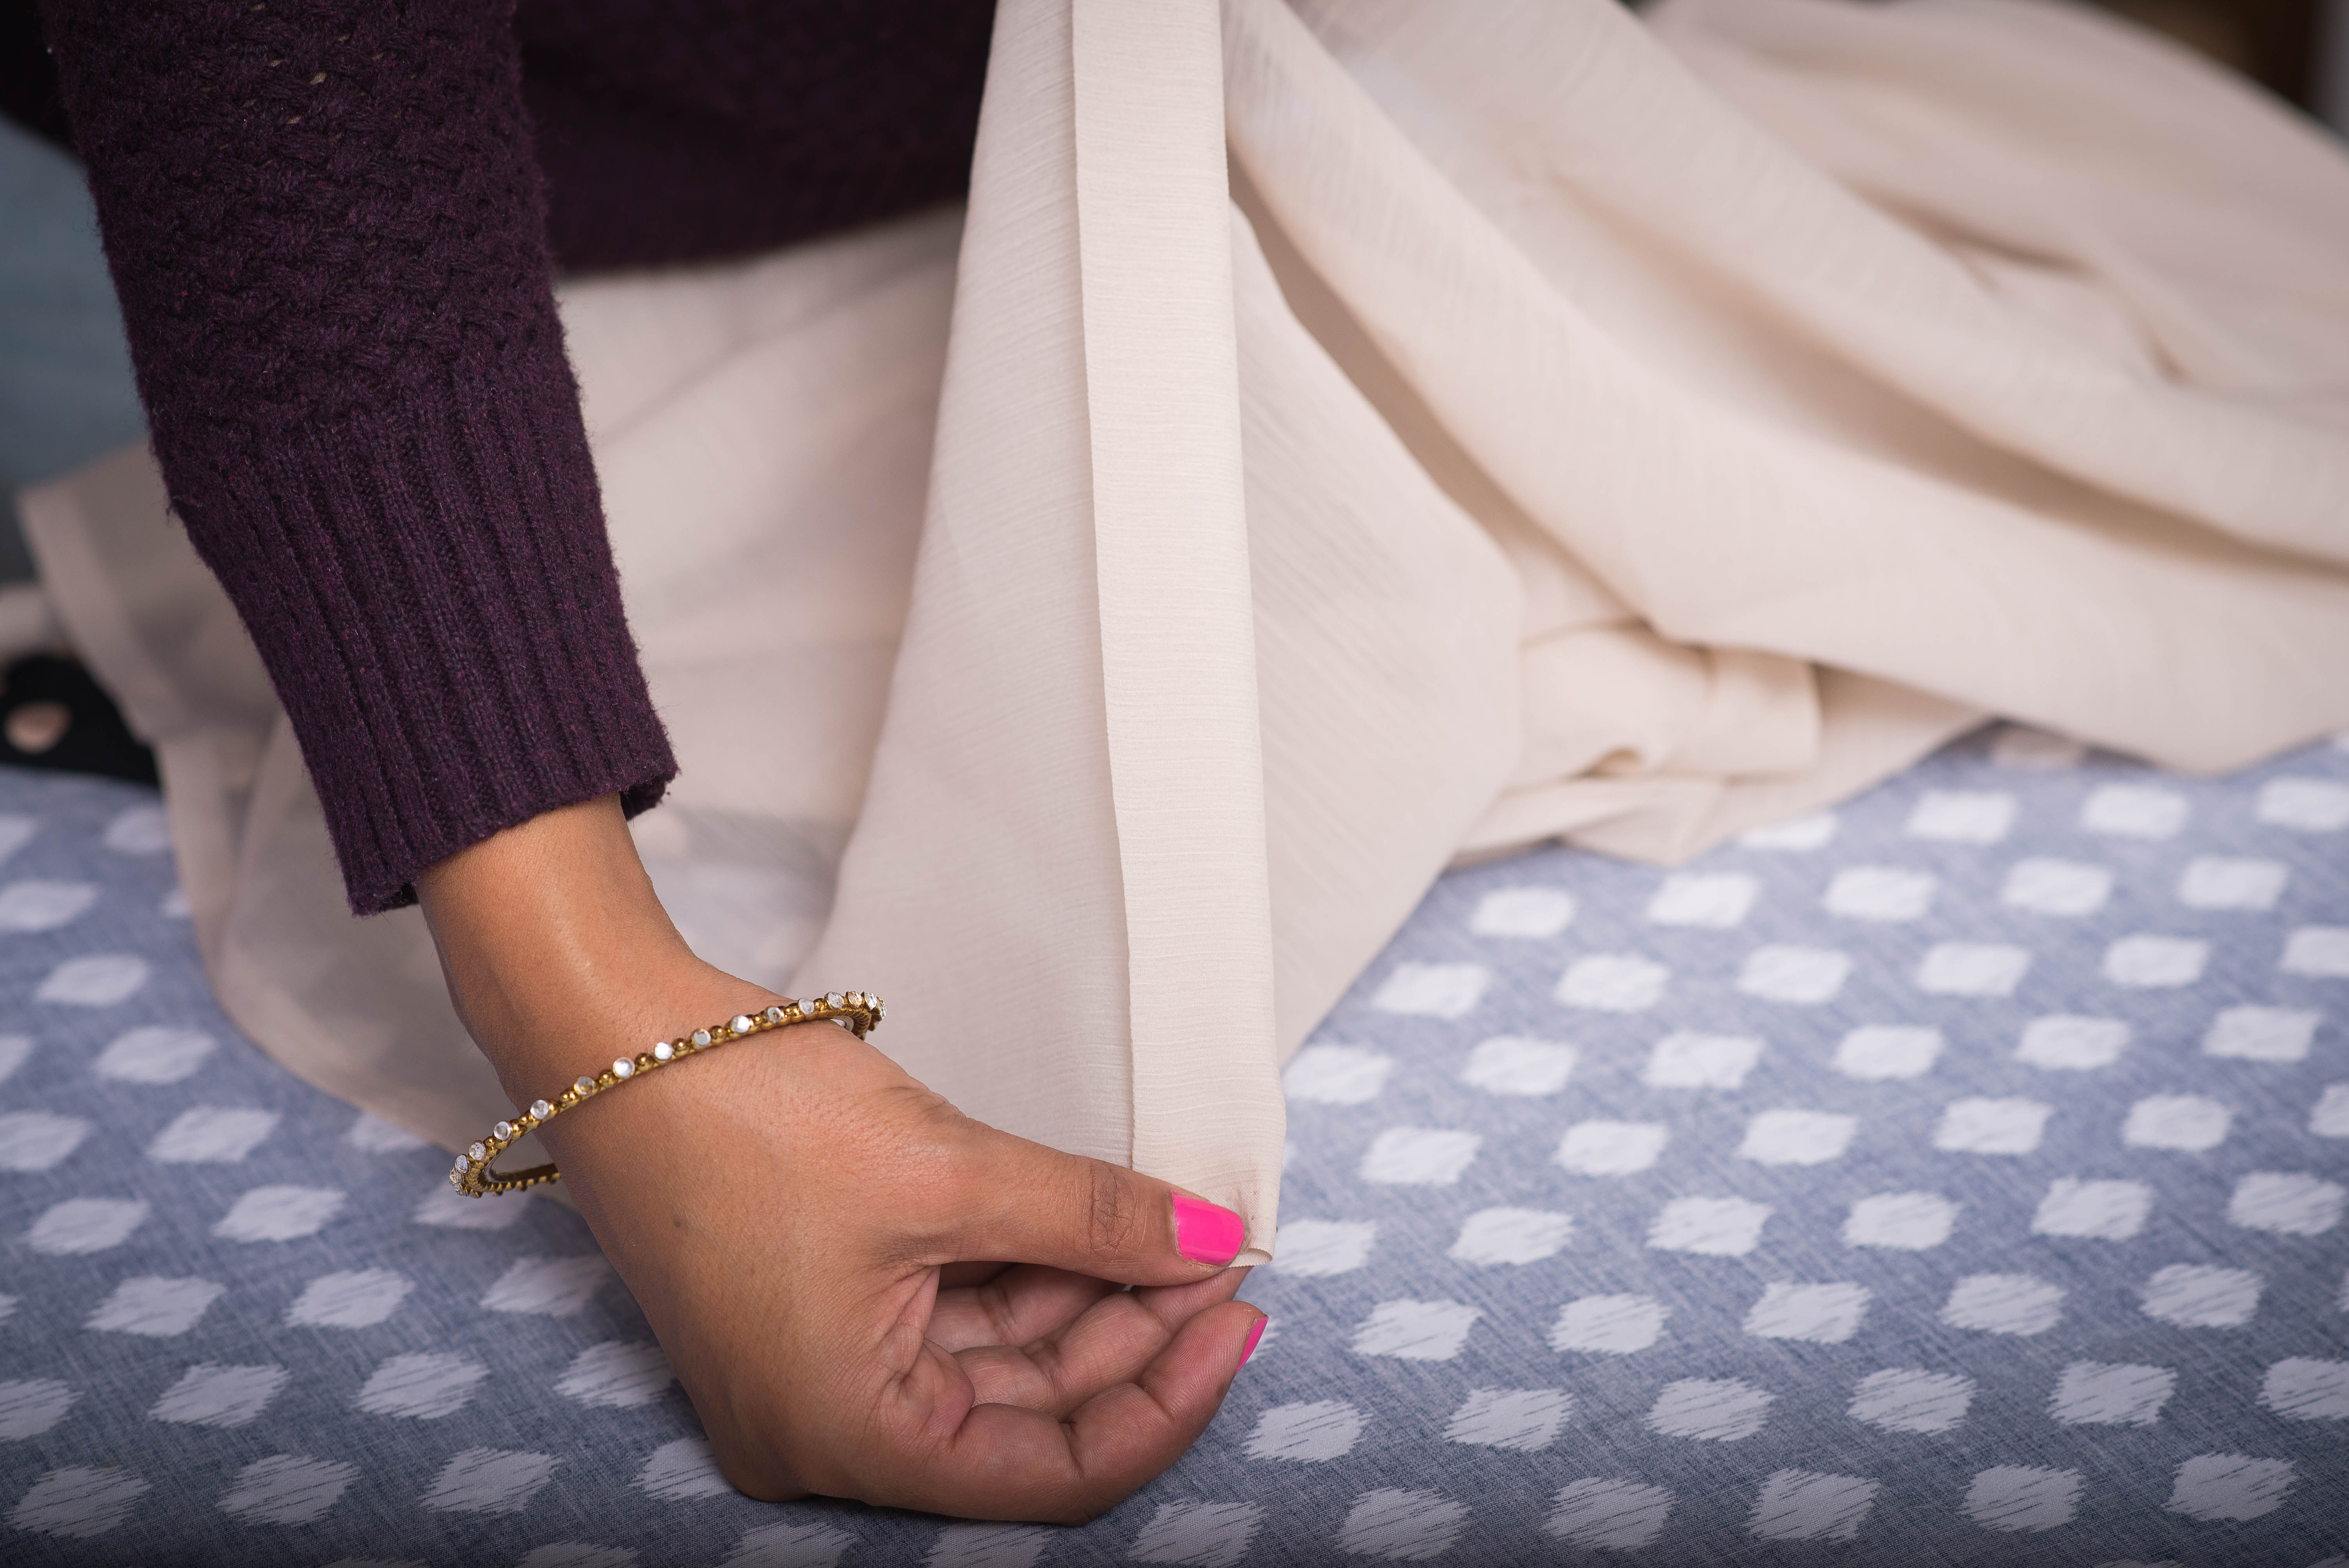
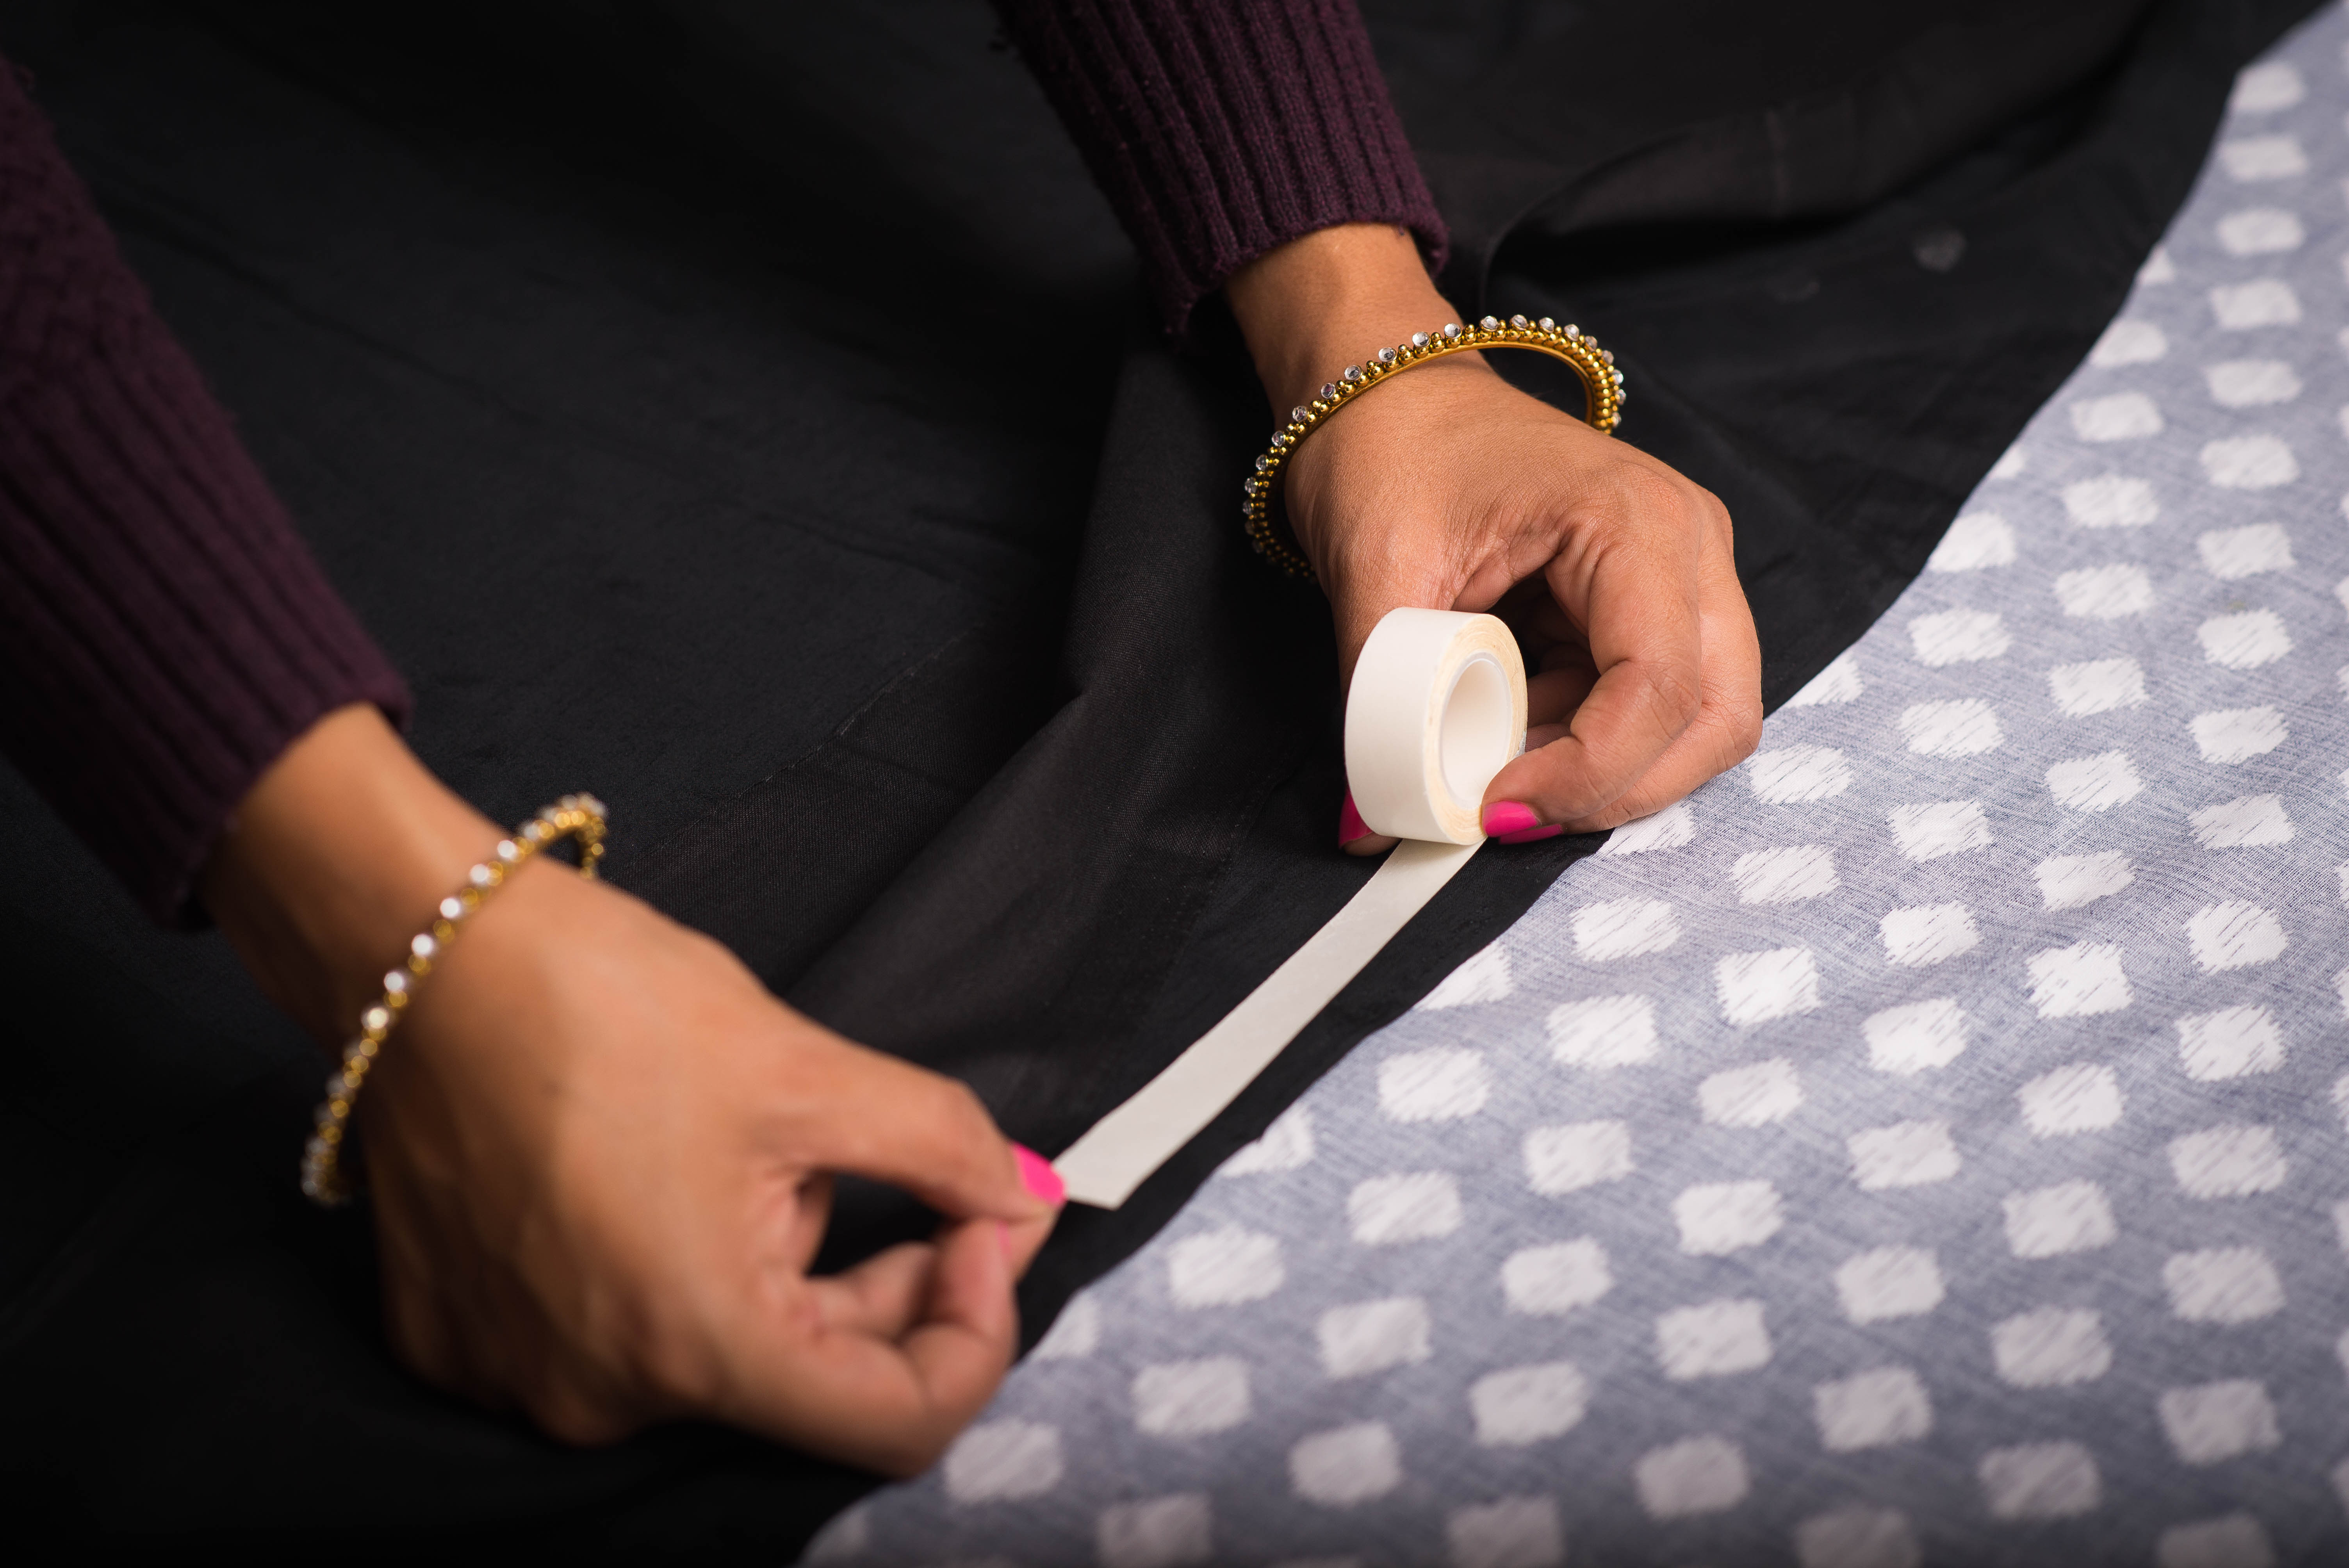
Once you’ve completed your French seam, hem the ends of your sari and add a fall to the bottom edge of your sari. If you aren’t that great with hemming, you can also use hemming tape!
That’s it, not bad for a saree that cost me pretty much nothing!




How creative and love the final product!
This is a super cool DIY. great use of old duppatas. Got to try this. Thanks for sharing!
Such a cool idea, I will have to pass it onto my Mom!
I absolutely love this idea and this whole look! Love things that are frugal and fashionable!
Love this, it’s look so good!
I love this so much! Not only do you look fab but you make it look so easy to diy this!
Love this! Looks lovely!!
Hey, Thanks for creating this lovely design from old dupatta. I love your concept. Would love to see more such posts. Keep up the good work.
It’s great that you are getting thoughts
from this post as well as from our discussion made at this place.