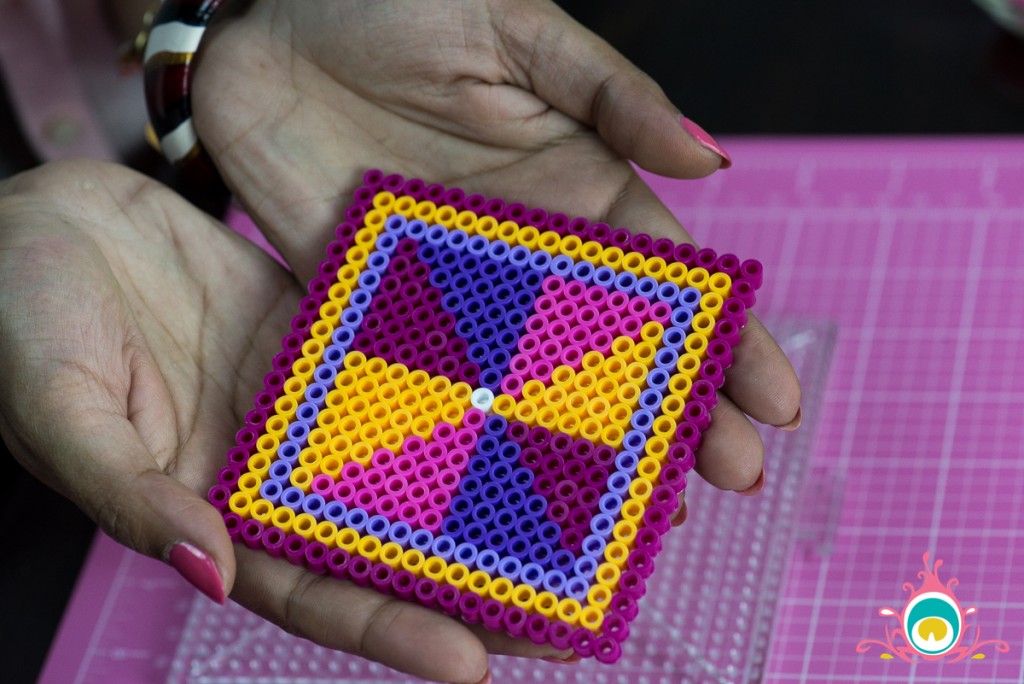
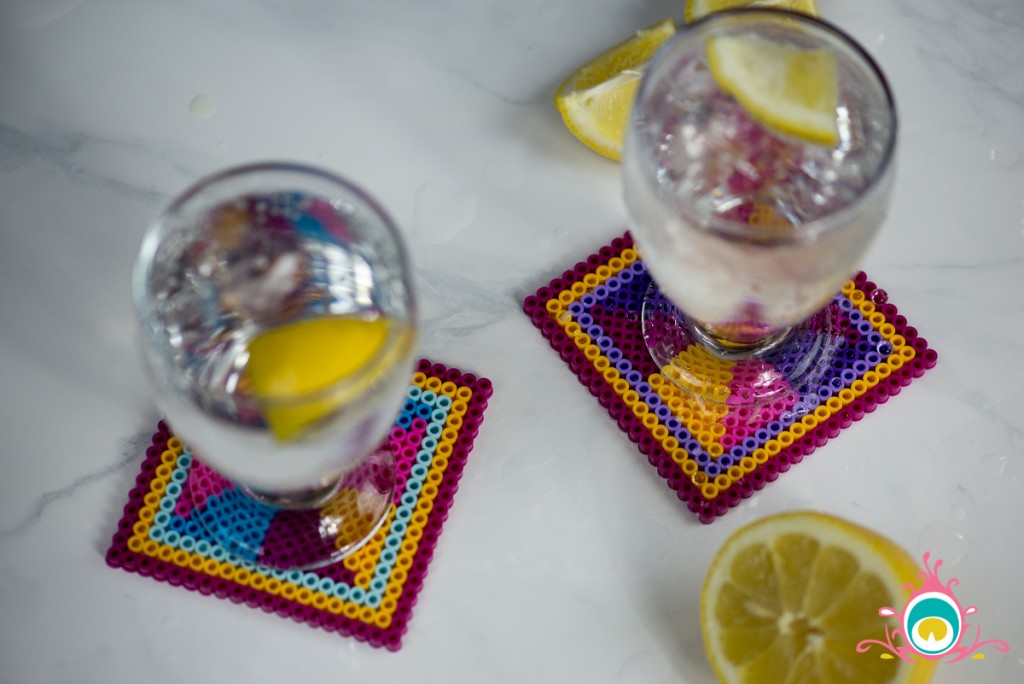
 Last Christmas Zara asked for two items; a Rainbow Loom with every colour of elastics, or a Perler Bead Board and thousands of tiny Perler Beads. I decided to go with the second option, even though I knew I’d be stepping on them forever. Partially because they are so much easier for a seven year old to work with than a Rainbow Loom, and partially because I love Perler Beads! {My 90’s self was a bit of a Perler Bead geek.}
Sadly, I hadn’t really been able to think of a project that inspired me to break out the Perler Beads until last week. Since I have a freshly painted dining table, I was looking for a coaster to pop my drink down on the other night and realized – we don’t own any coasters. Light bulb moment = Perler Bead coasters. Of course the next dilemma was; what pattern to make on the coasters? Well, if your dining table makeover was inspired by Jaipur, it only seems fair to create coasters inspired by the Phulkari flower right?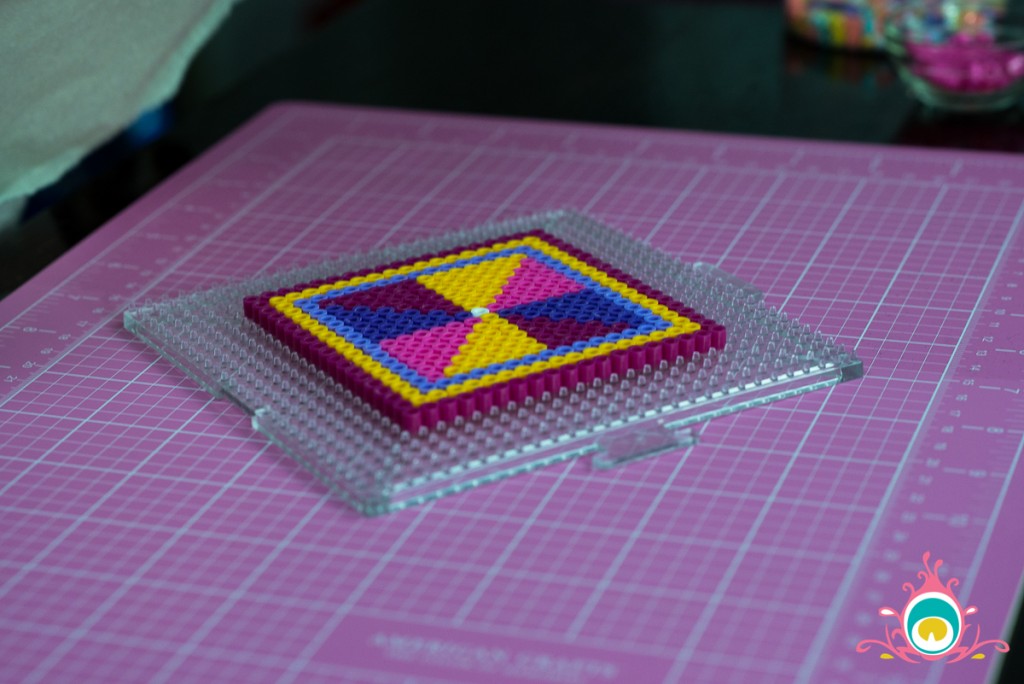
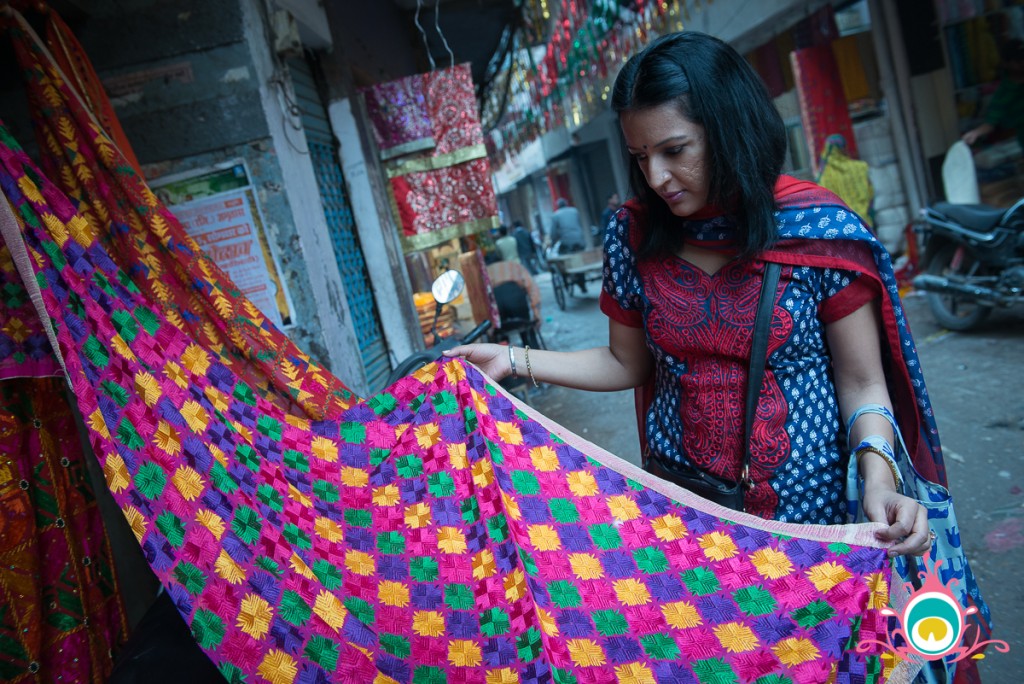 {Shopping for a Phulkari in Amritsar}
Phulkari is a traditional form of embroidery from the Punjab region, and is one my absolute favourite patterns. I wasn’t able to replicate the flower exactly, but the inspiration definitely came from the gorgeous pattern I saw so much of in Amritsar. 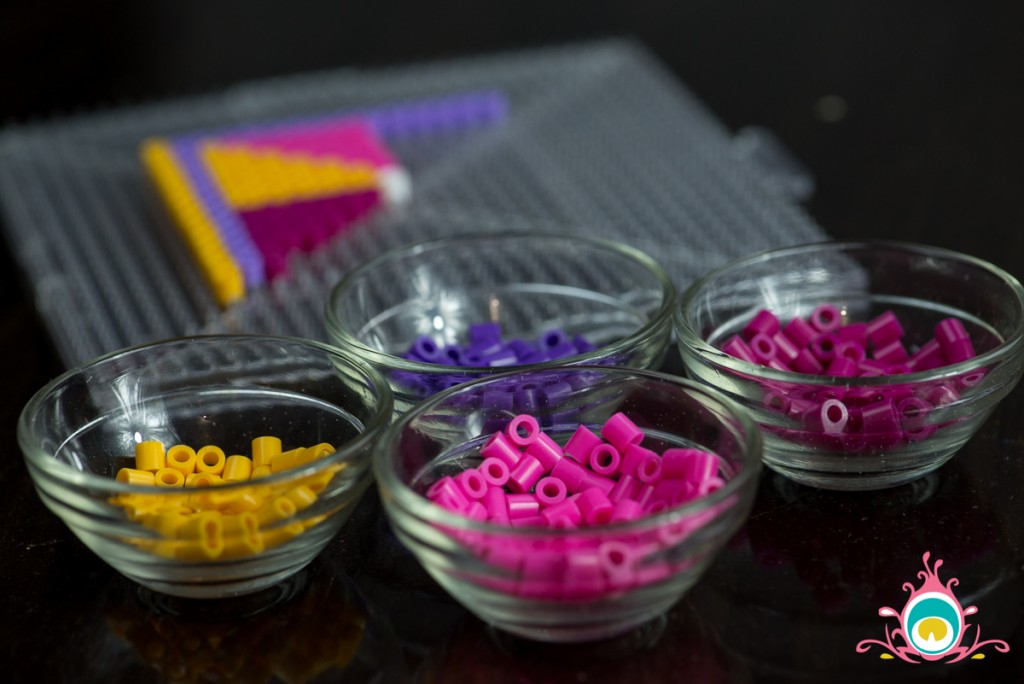
How to Make Perler Bead Coasters:
To make these coaters you will need fuse beads in a variety of colours (I’ve only ever used the Perler Bead brand, but there are other options on the market of fuse beads), a bead board, parchment paper, and an iron.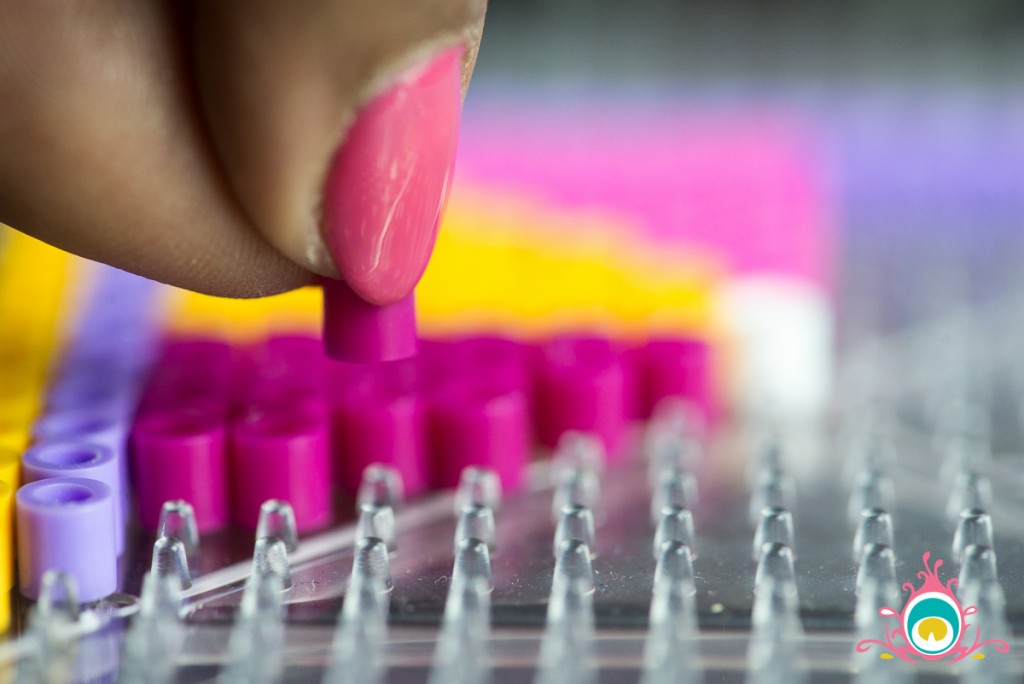
Start by selecting the size of your coasters. I made mine 20 beads by 20 beads which makes them big enough for a high-ball sized glass. 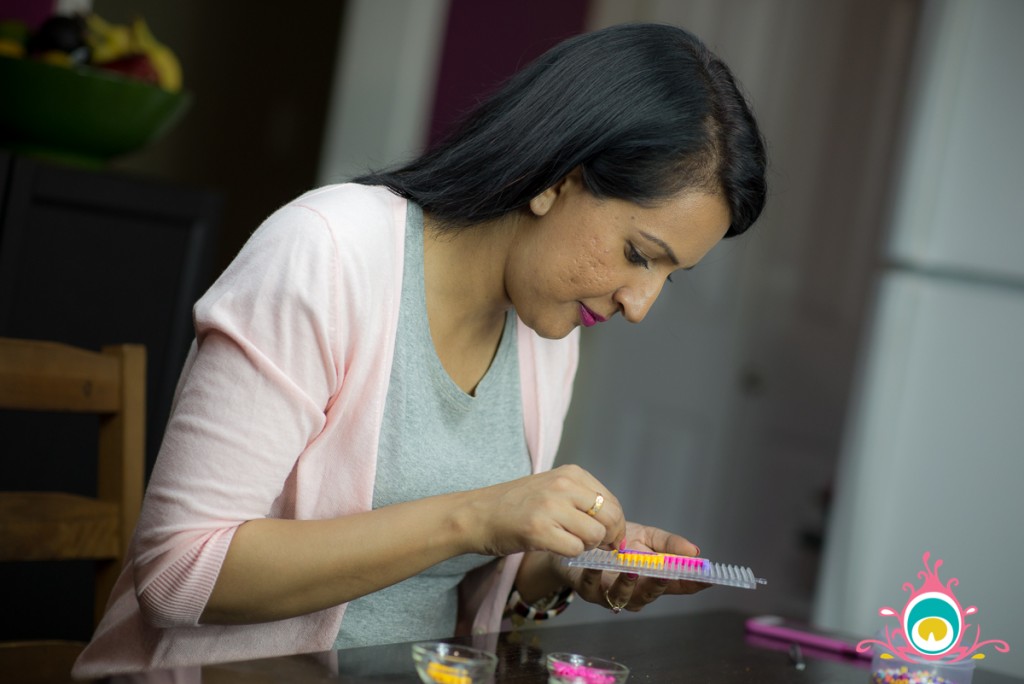
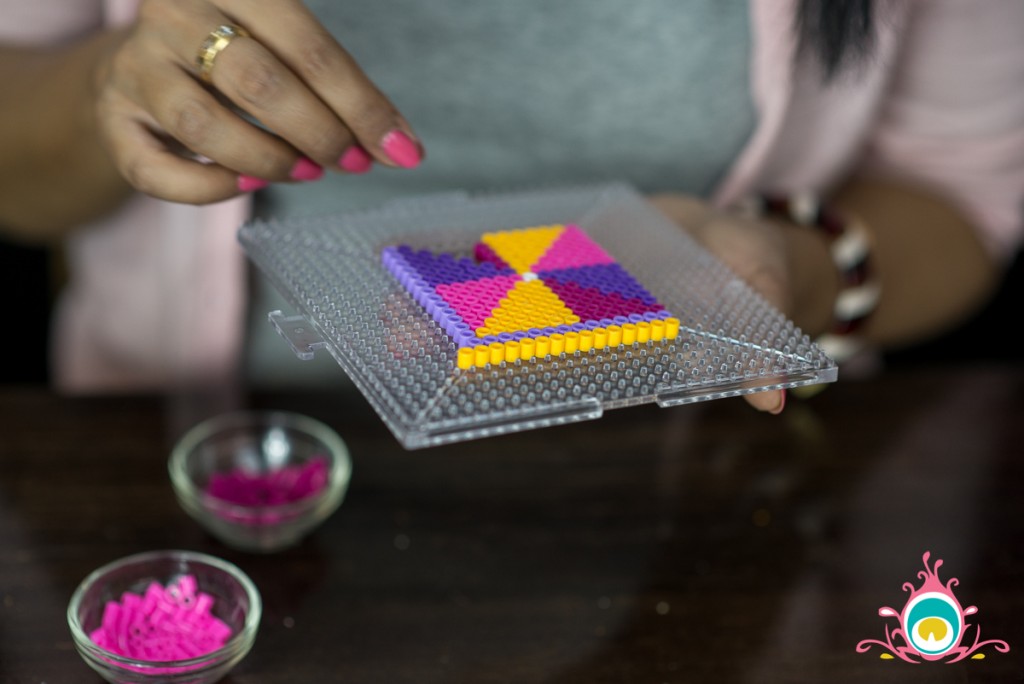
Lay out your beads in the pattern that you have chosen. If you are doing a pattern similar to the one I’ve done you’ll need a total of five colours, and I suggest choosing colours that contrast with each other. Indian inspired designs should always be intentionally mismatched in my opinion.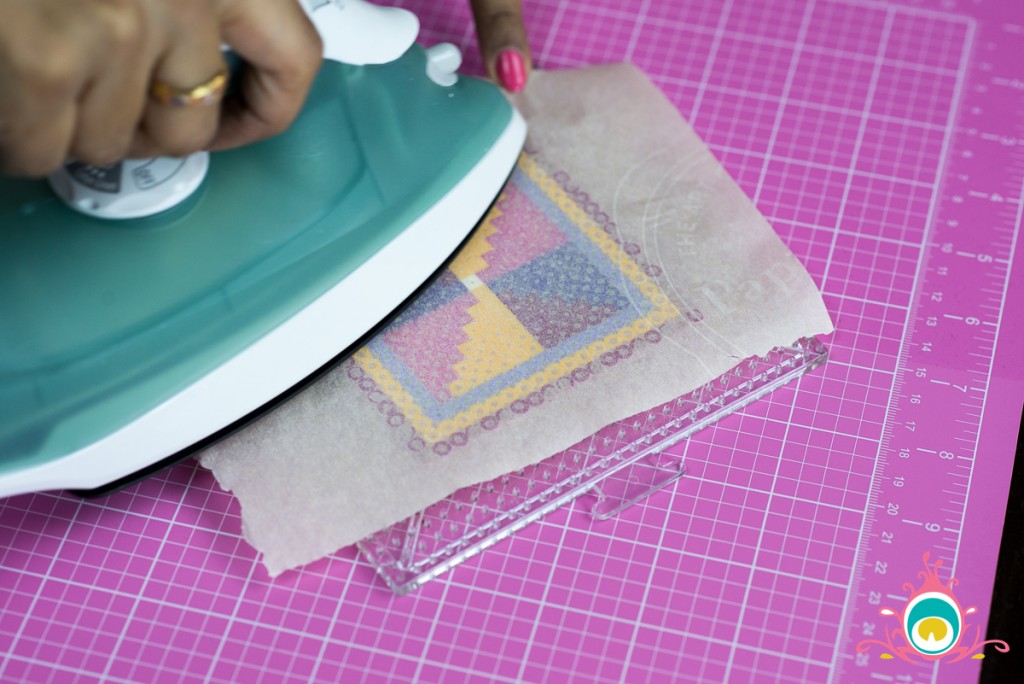
Once you’ve got your coaster laid out in the design that you prefer, cover it with parchment paper and iron on a low setting to fuse the beads together. Keep the iron on a low to medium setting and keep moving it around. Also be very careful and go slowly on the edges, there is nothing worse than peeling the parchment back and realizing you’ve missed a section (been there).
Slowly peel the parchment paper back and allow the coaster to cool for a few minutes before handling. 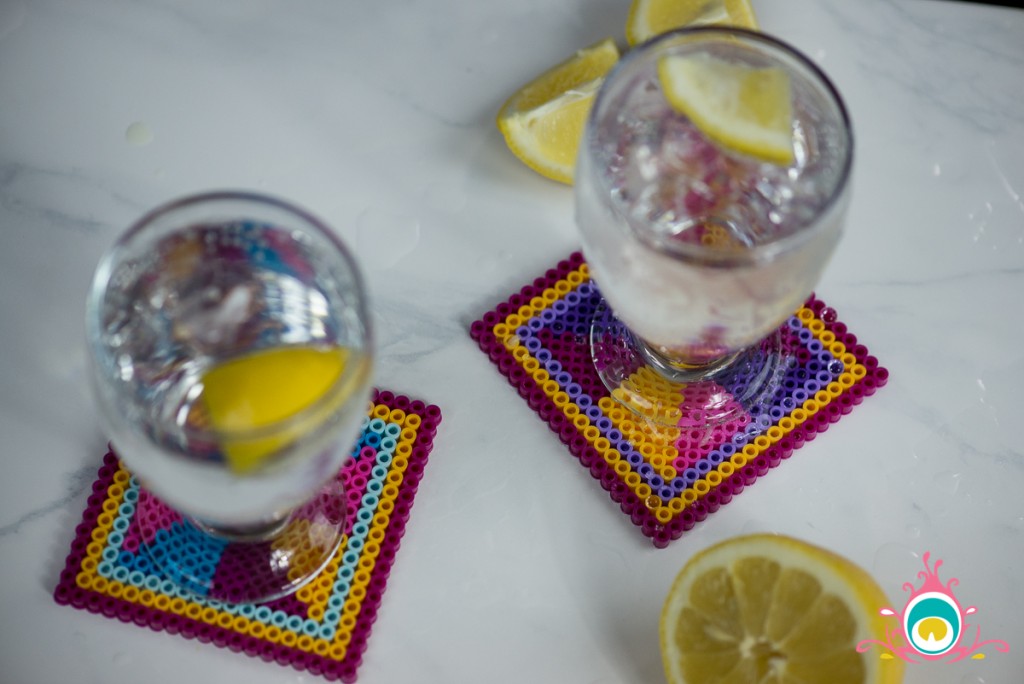
This project is quite easy to do, but it does require just a little patience when you are setting the beads up. It’s a great one to do with the kids though – if they are too young to place the beads, have them sort them into piles by colour, and if they are a bit older they can practice their pincer grip!

Your DIY projects are the best – they are so creative, colorful, and easy to try. Love the photos and inspiration behind the idea!