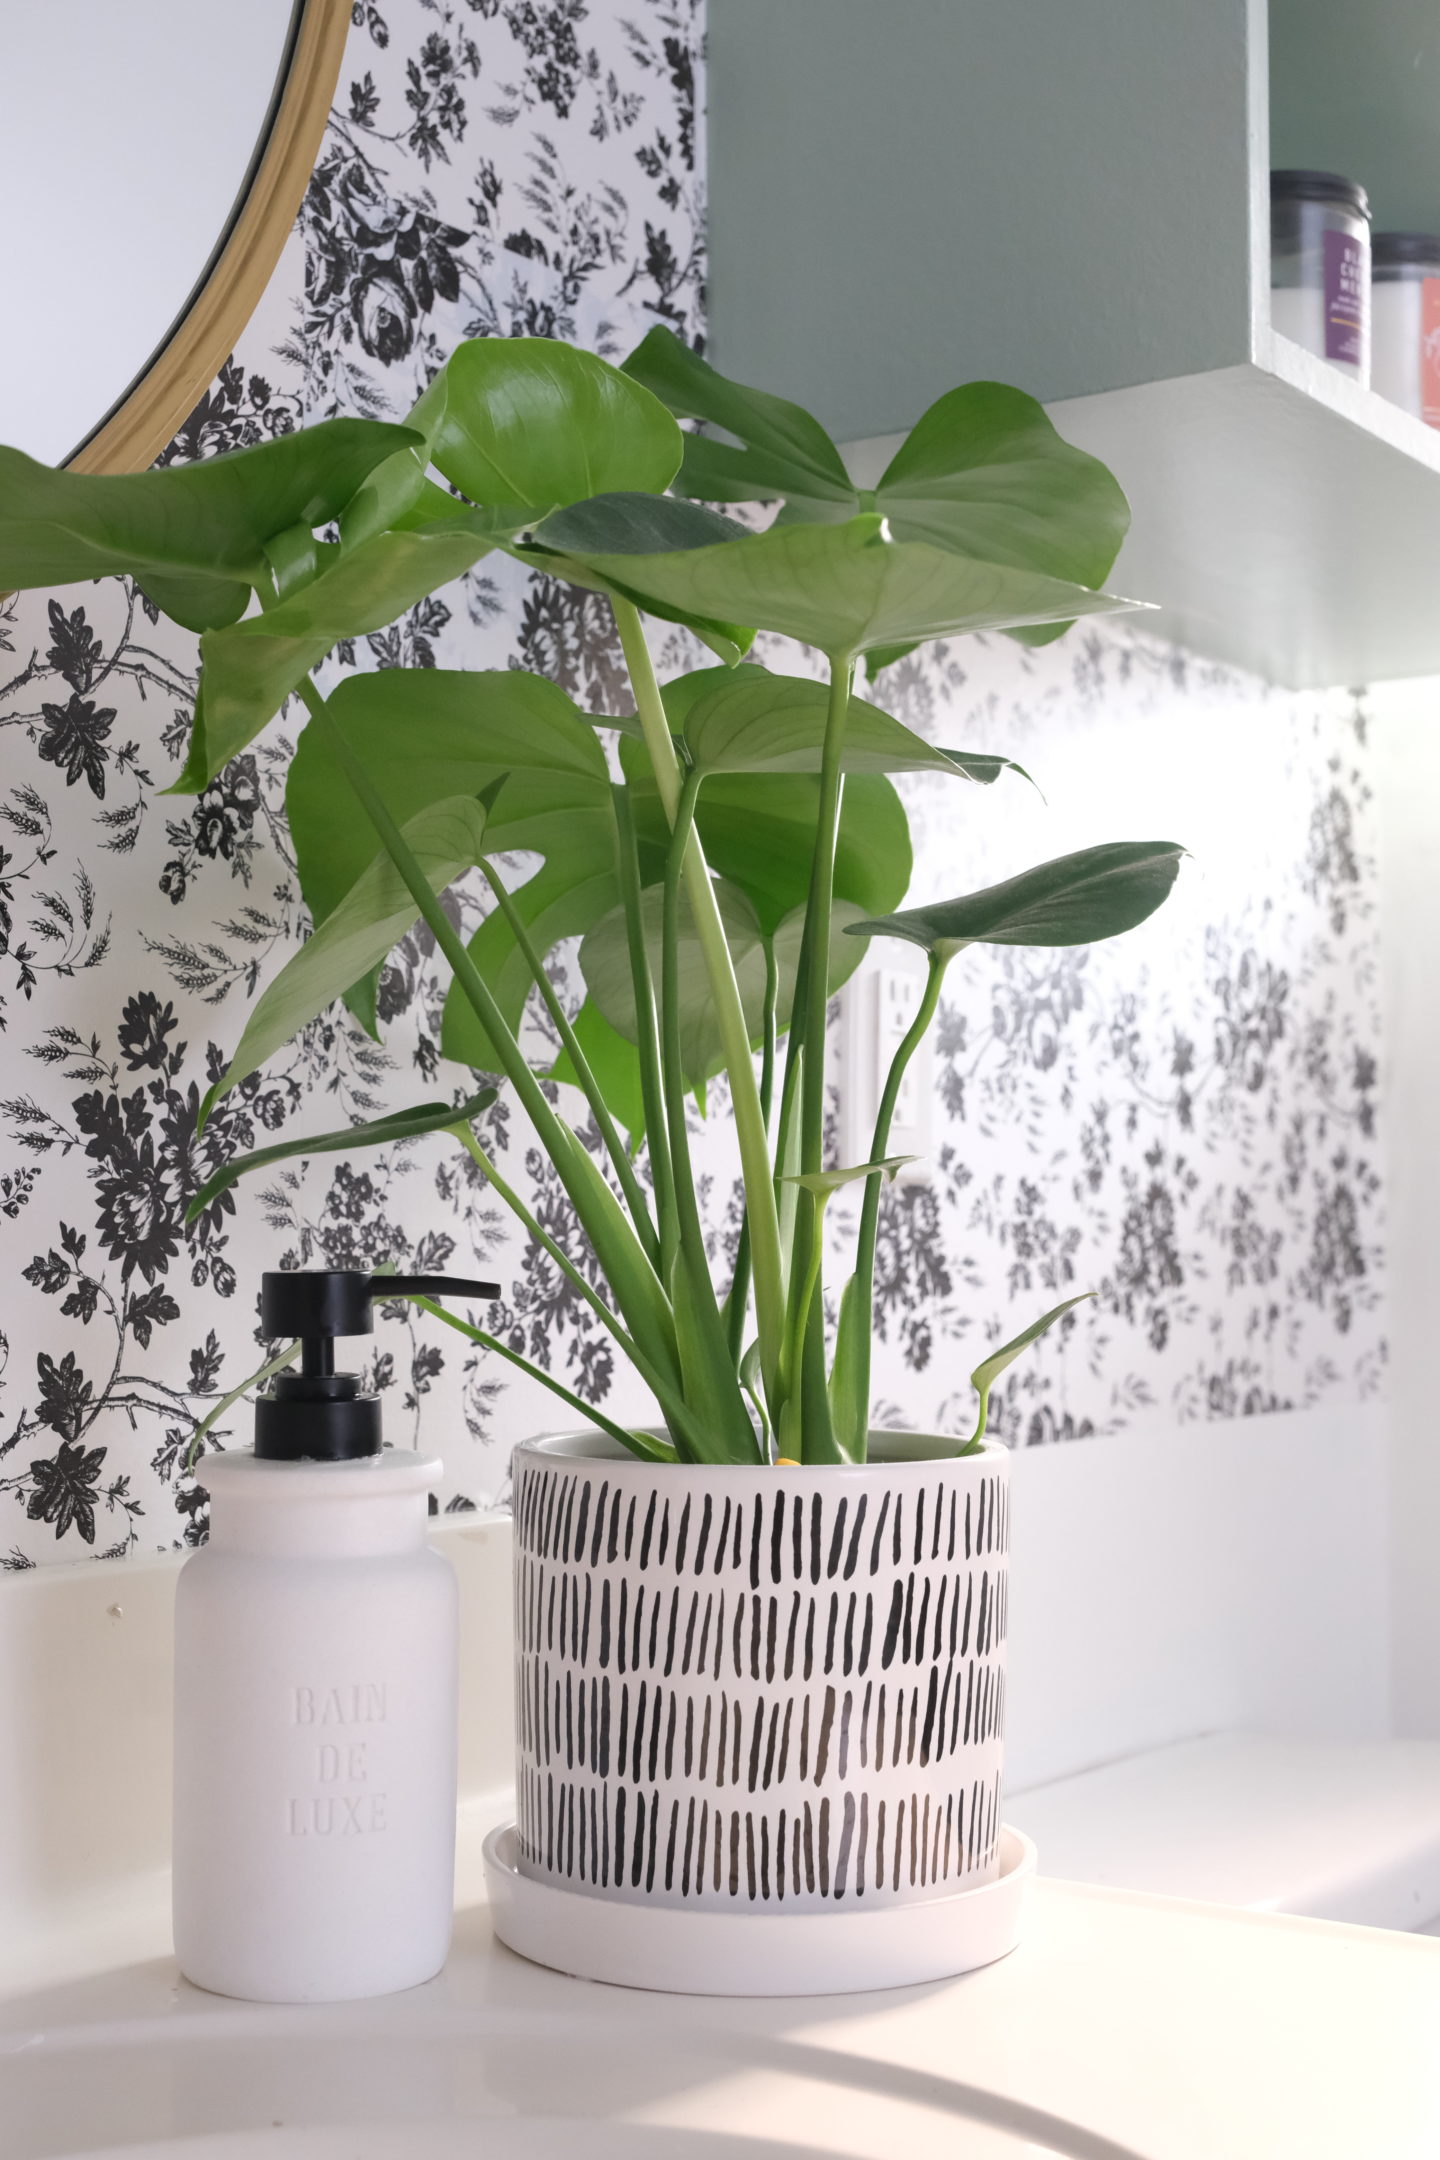
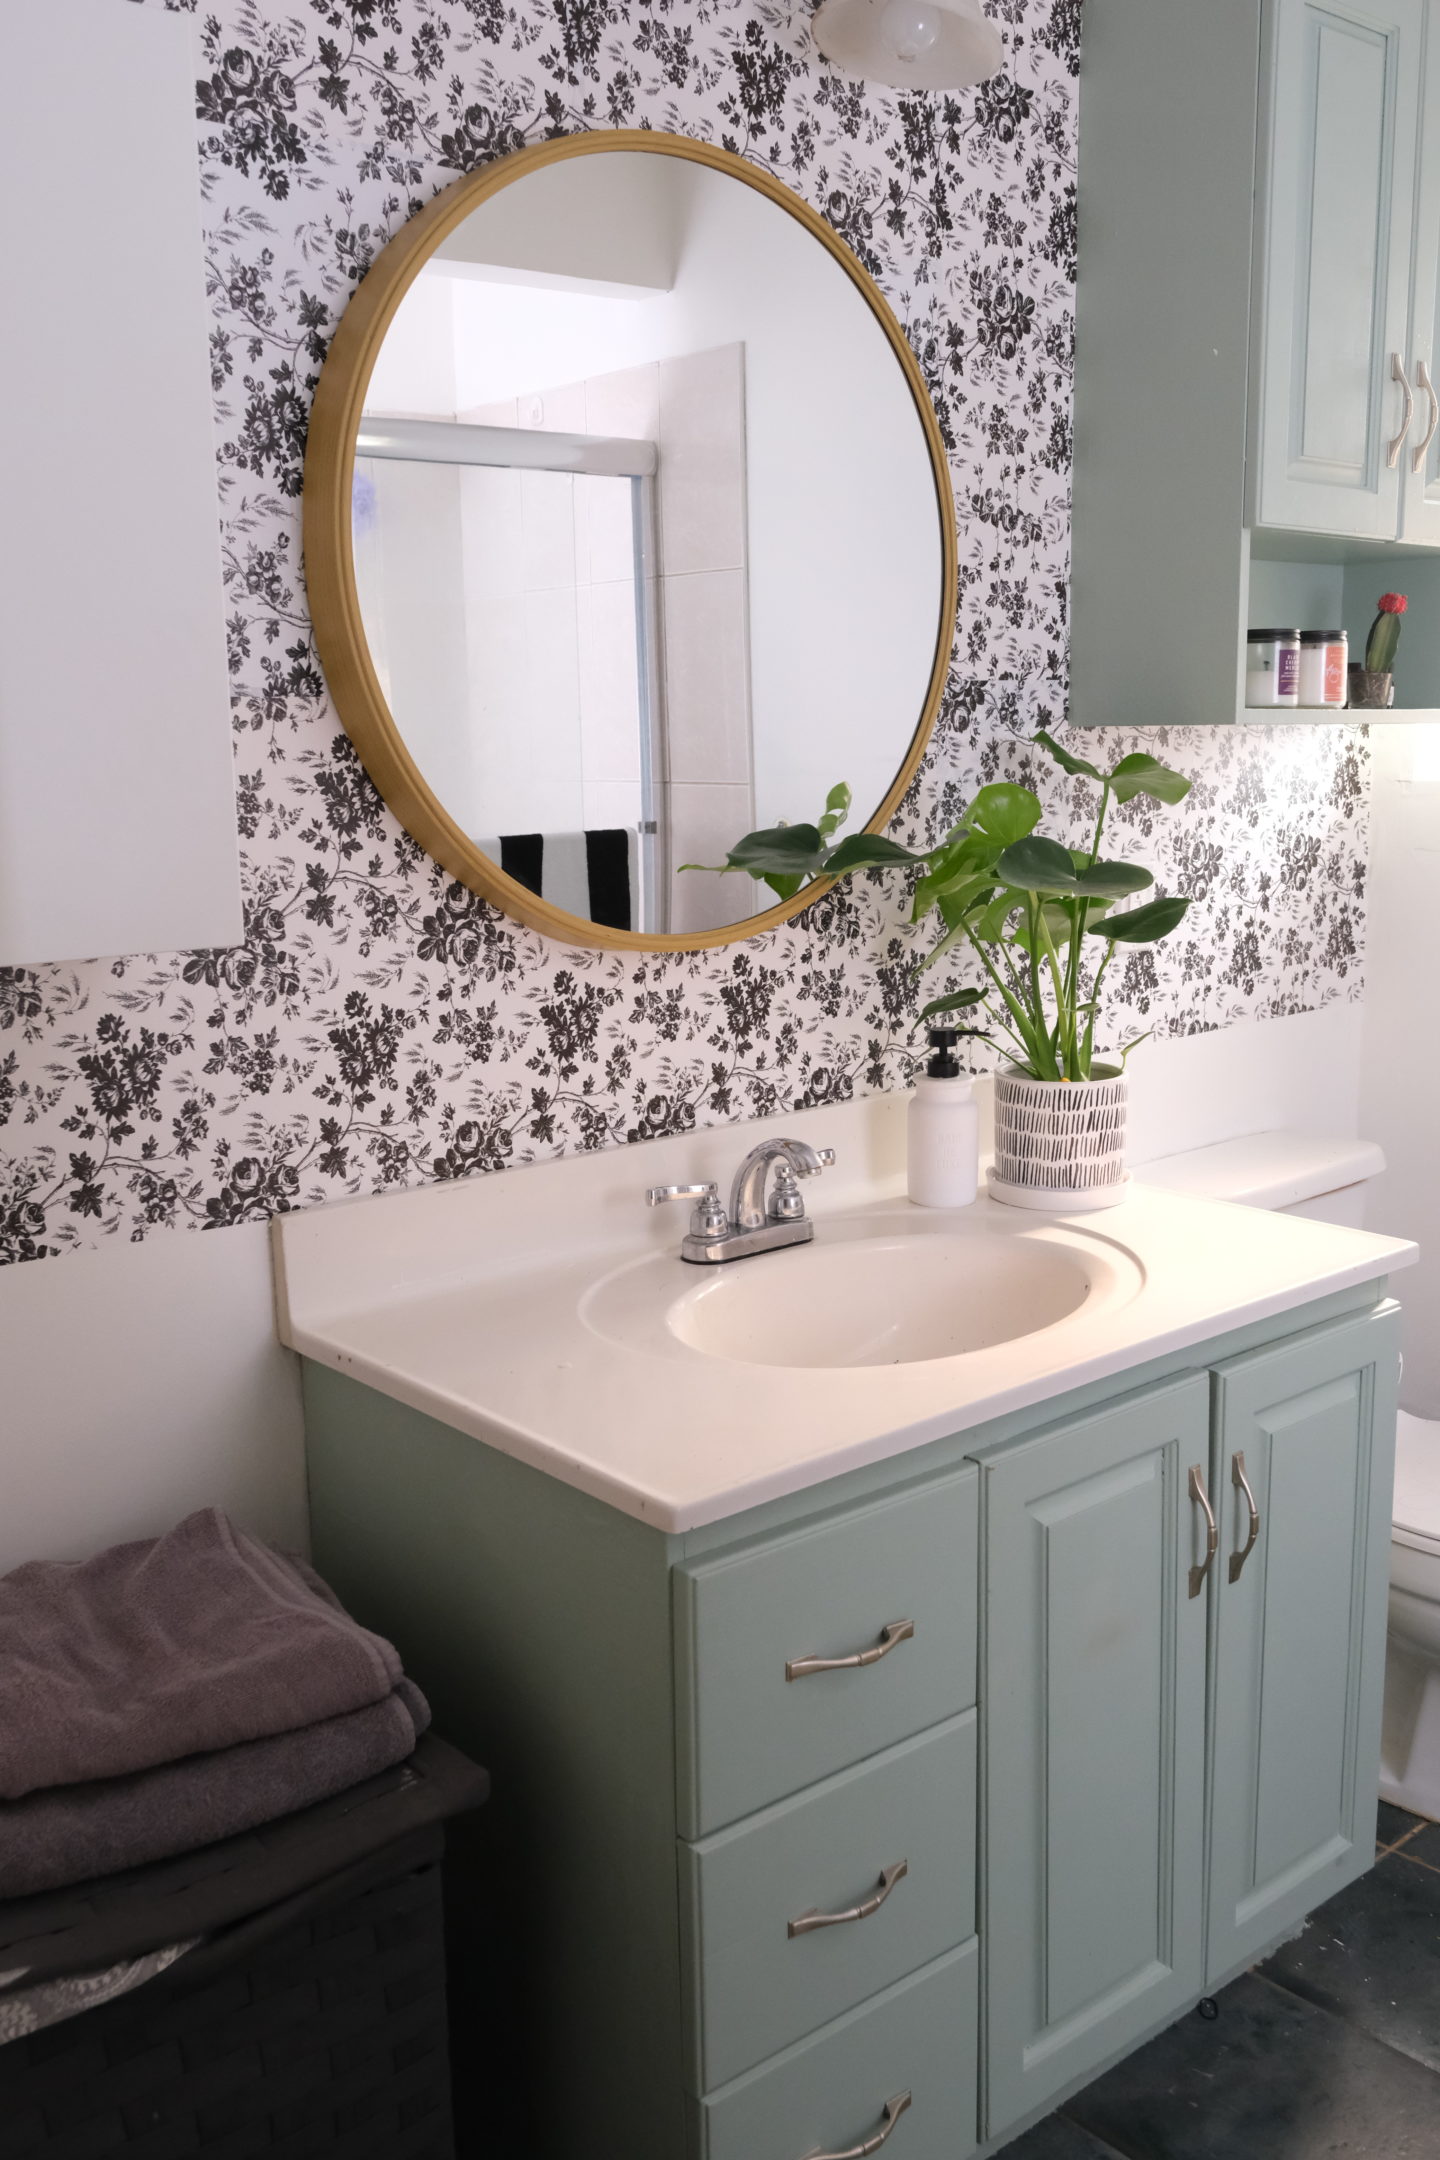
To say our main bathroom needed an update was more than an understatement, it was stating the painfully obvious. We moved into our current house about 4 years ago, and I’ve done almost no updates. It’s a long story – but the Coles Notes are; I just wasn’t motivated. And now that the decorating bug has hit, it hit hard. My whole upper floor is ripped apart at the moment. The one room that is done, the main bathroom.
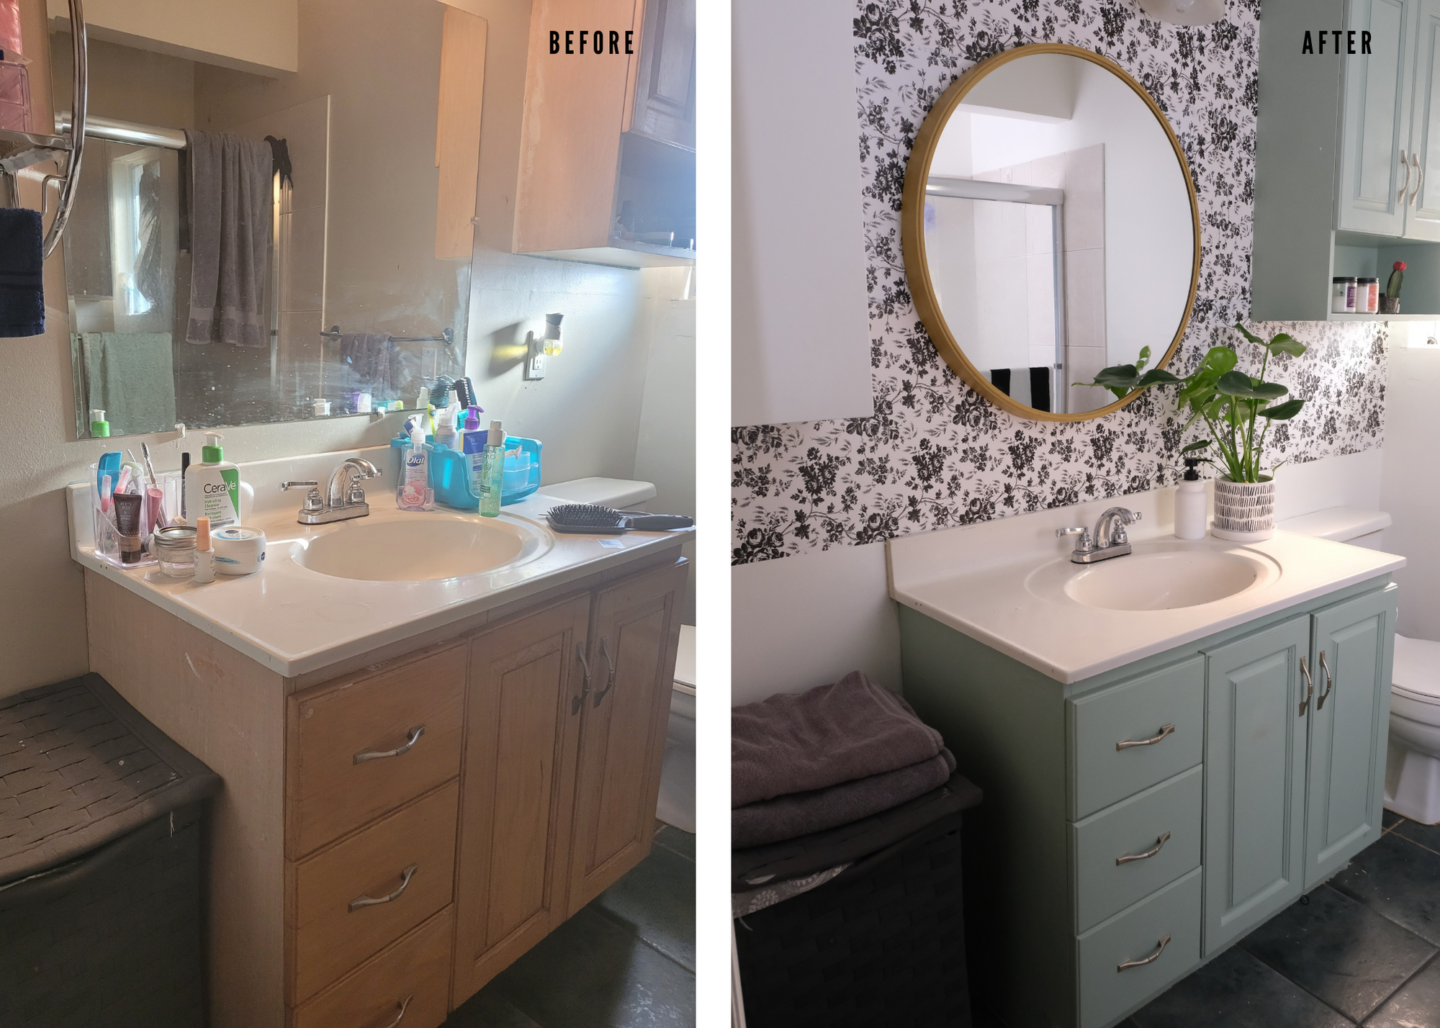
This bathroom is shared by the kids and my mom, and it’s the one that guests see when they stop by. Weirdly, it’s also visible from our front door. So it felt like the first room we should tackle. Since our house is a rental, I couldn’t do anything major with the fixtures or tiles, so I had to work with colour, pattern, and some aesthetic updates.
Paint: Colours & Process
I started by painting the whole space a beautiful warm white – Palais White by Behr. Ever since I painted the Pink Chai Studio white, I’ve been obsessed with all white everywhere. Since I was stuck with the dark green tile on the floor in the bathroom, I decided to bring the green up to the cabinets and chose this beautiful sage like green also by Behr, called Jojoba.
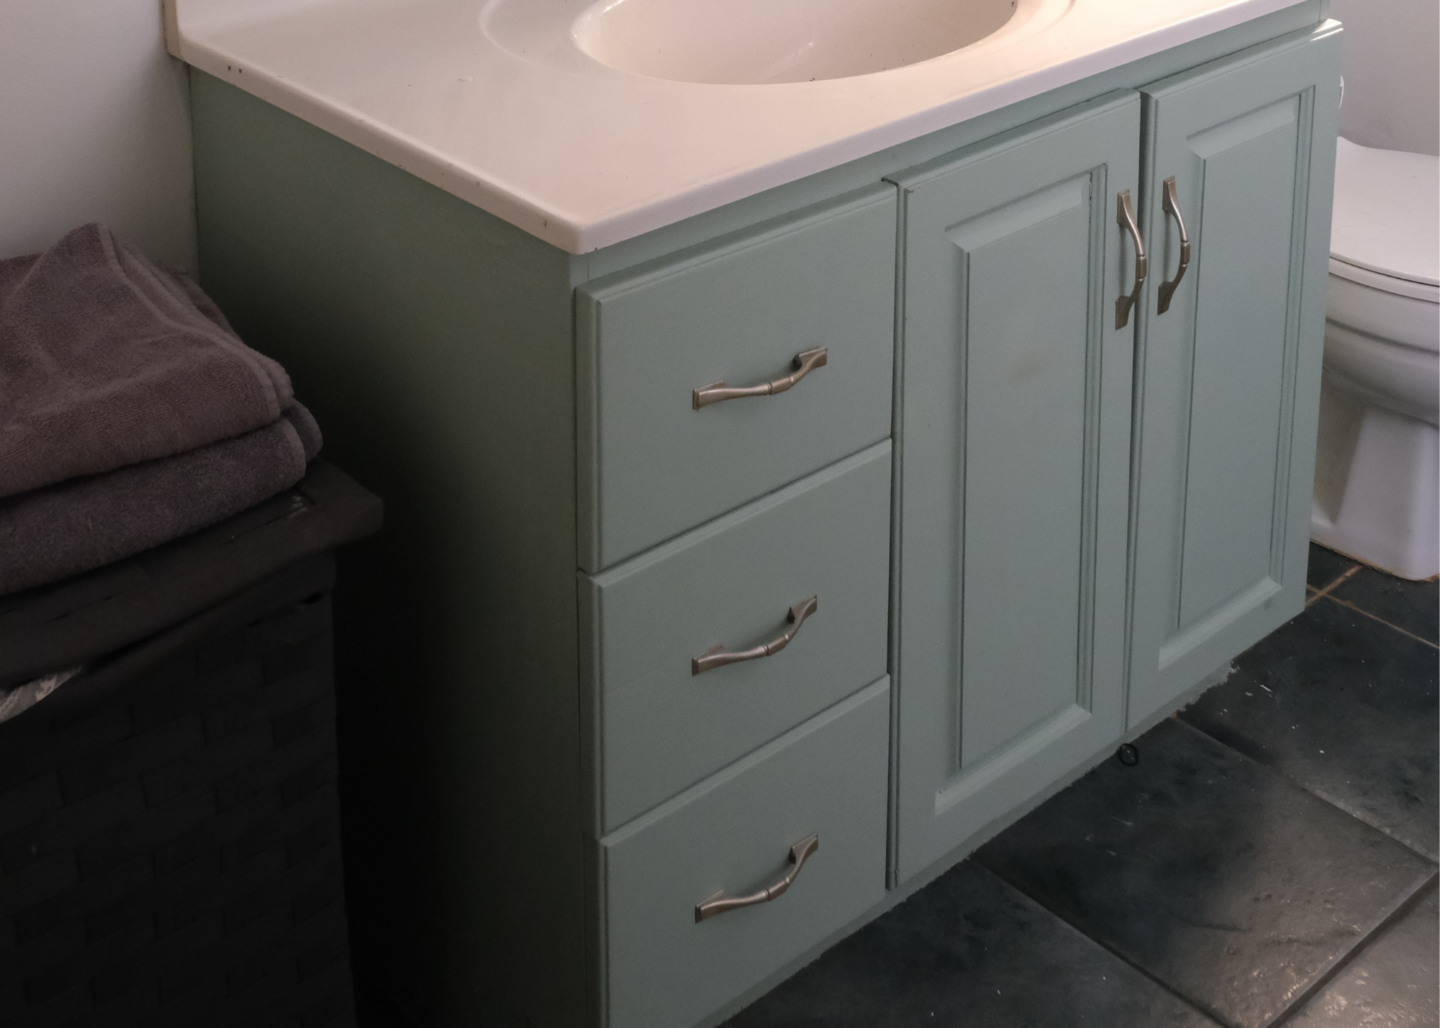
Over on IG I had a lot of questions about the paint and process I used for the cabinets. I did a light scuff sanding, and then I used the Behr Marquee Interior Satin Enamel Paint. This paint is a primer and paint in one, and I’ve used it for a few projects before, it holds up really well.
Contact Paper as Wallpaper
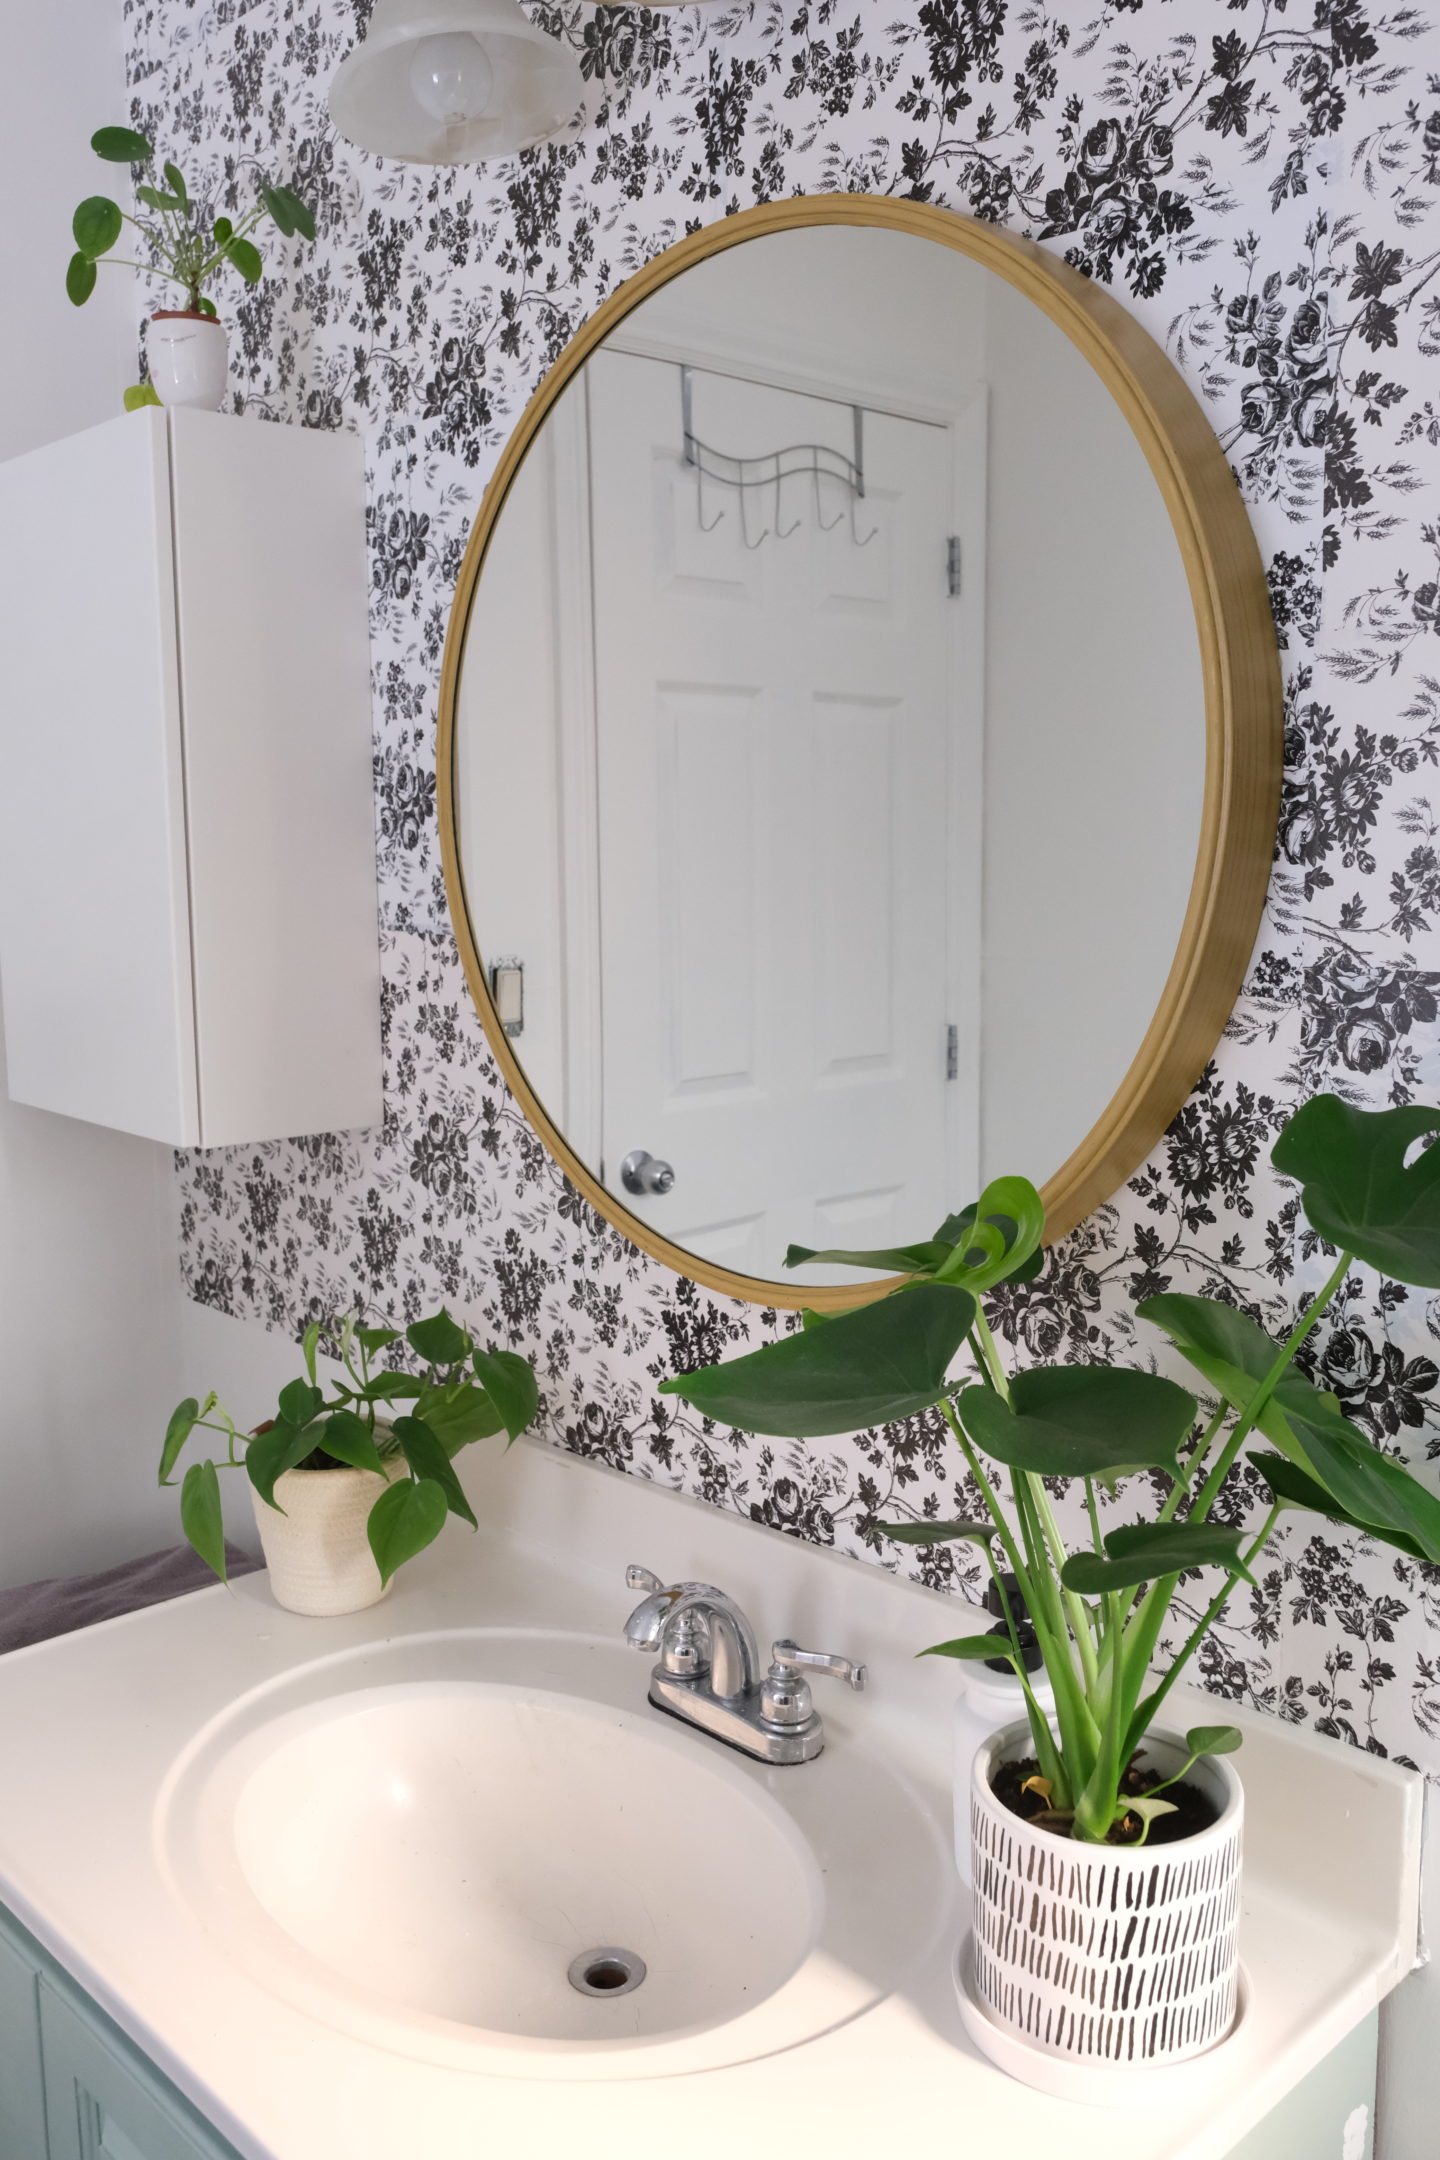
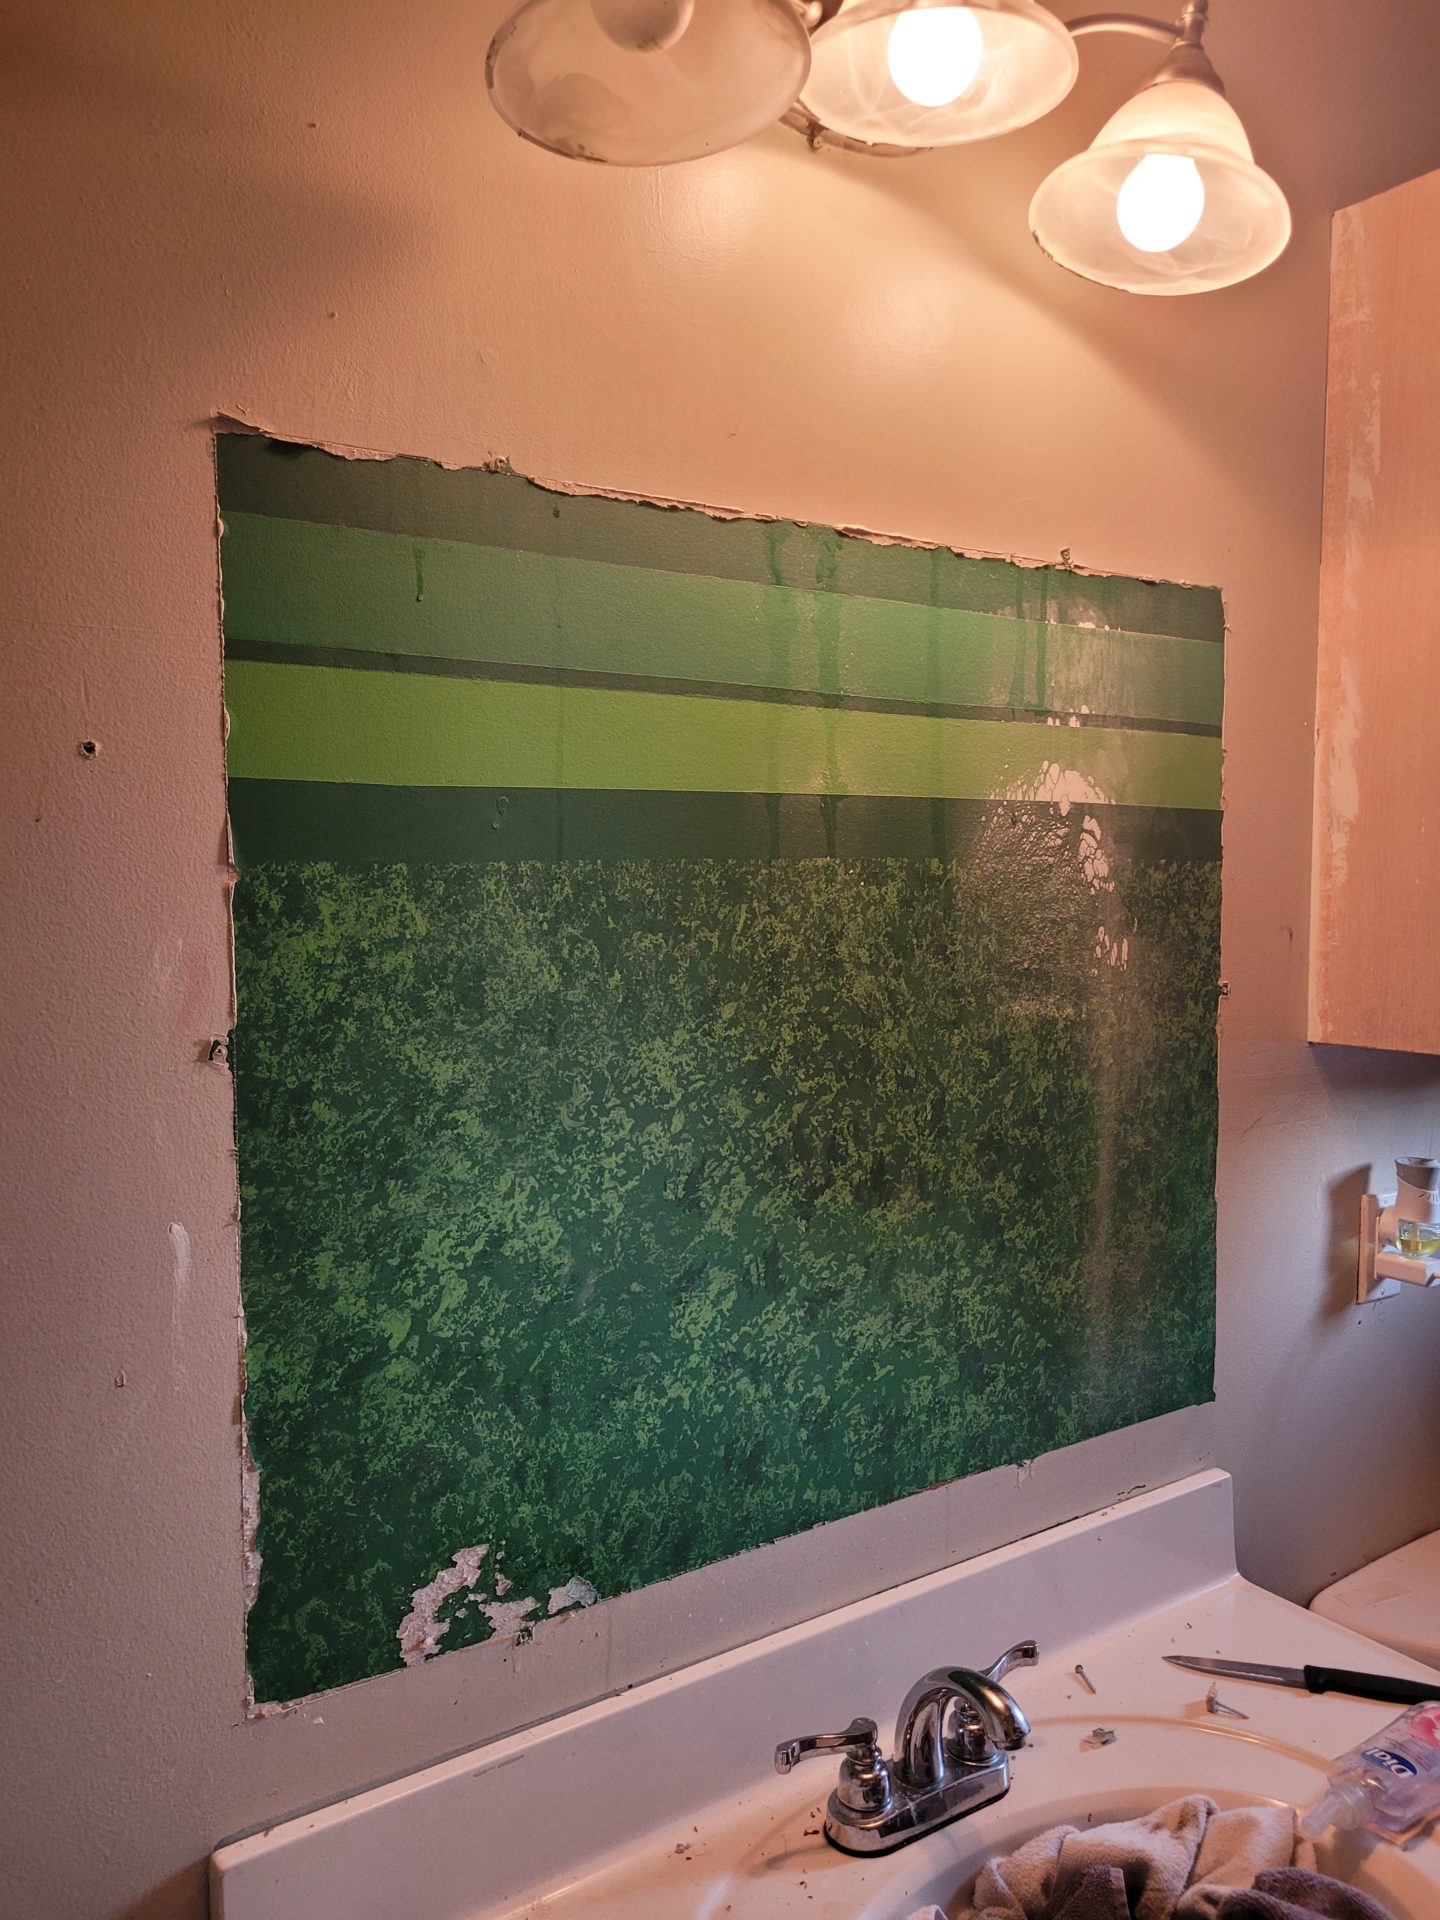
While I was prepping the walls for the paint, I had the genius idea to remove this horrible builder grade mirror we had up, but we wer not expecting to find what I think was unfinished drywall under it! We tried to patch it up with putty and do a few layers of paint, but the tape was showing through quite badly so I flipped our design direction and started looking at peel and stick wallpaper. It was really expensive. Then it occured to me that I’d seen a great toile contact paper at the dollar store recently!
I tested a small area and found that it worked quite well if you peel the contact paper slowly. To be perfectly honest, it’s not as easy as peel and stick paper, but if you take your time, it’s a great result. Can you believe I spent less than $10 on this whole wall! The wow factor is priceless.
Finishing Touches
The green cabinets and “wallpaper” were already making this room sing, but spray painting the hardware really finished everything off with a polished look. I also added a slime white medicine cabinet from IKEA to the wall for Zara. And the final finishing touch were a few new plant that just bring so much life into the space.
